Going live on a computer - Tutorial for using the web version
I. Feature Introduction
The web-based instructor terminal is a tool for elink instructors to conduct live streams on the web. It is suitable for scenarios that require desktop sharing, PPT courseware display, and instructor appearance. Compared with the computer client, the web-based instructor terminal is easier to use and more straightforward to operate.
PS: You need to use Google Chrome for live streaming on the web-based instructor terminal. Google Chrome has better compatibility and can provide a better live streaming experience!
II. Purpose of Use
Using the web-based instructor terminal allows you to conveniently conduct live streams on the web, enabling live video, courseware & desktop sharing, and other live content.
III. Use Scenarios
Web-based live streaming is suitable for scenarios that require desktop sharing, PPT courseware display, and real-time video live streaming with students.
IV. Operation Path
Merchant side: Merchant background → Live streaming → Go live → Teach on the computer → Web-based terminal
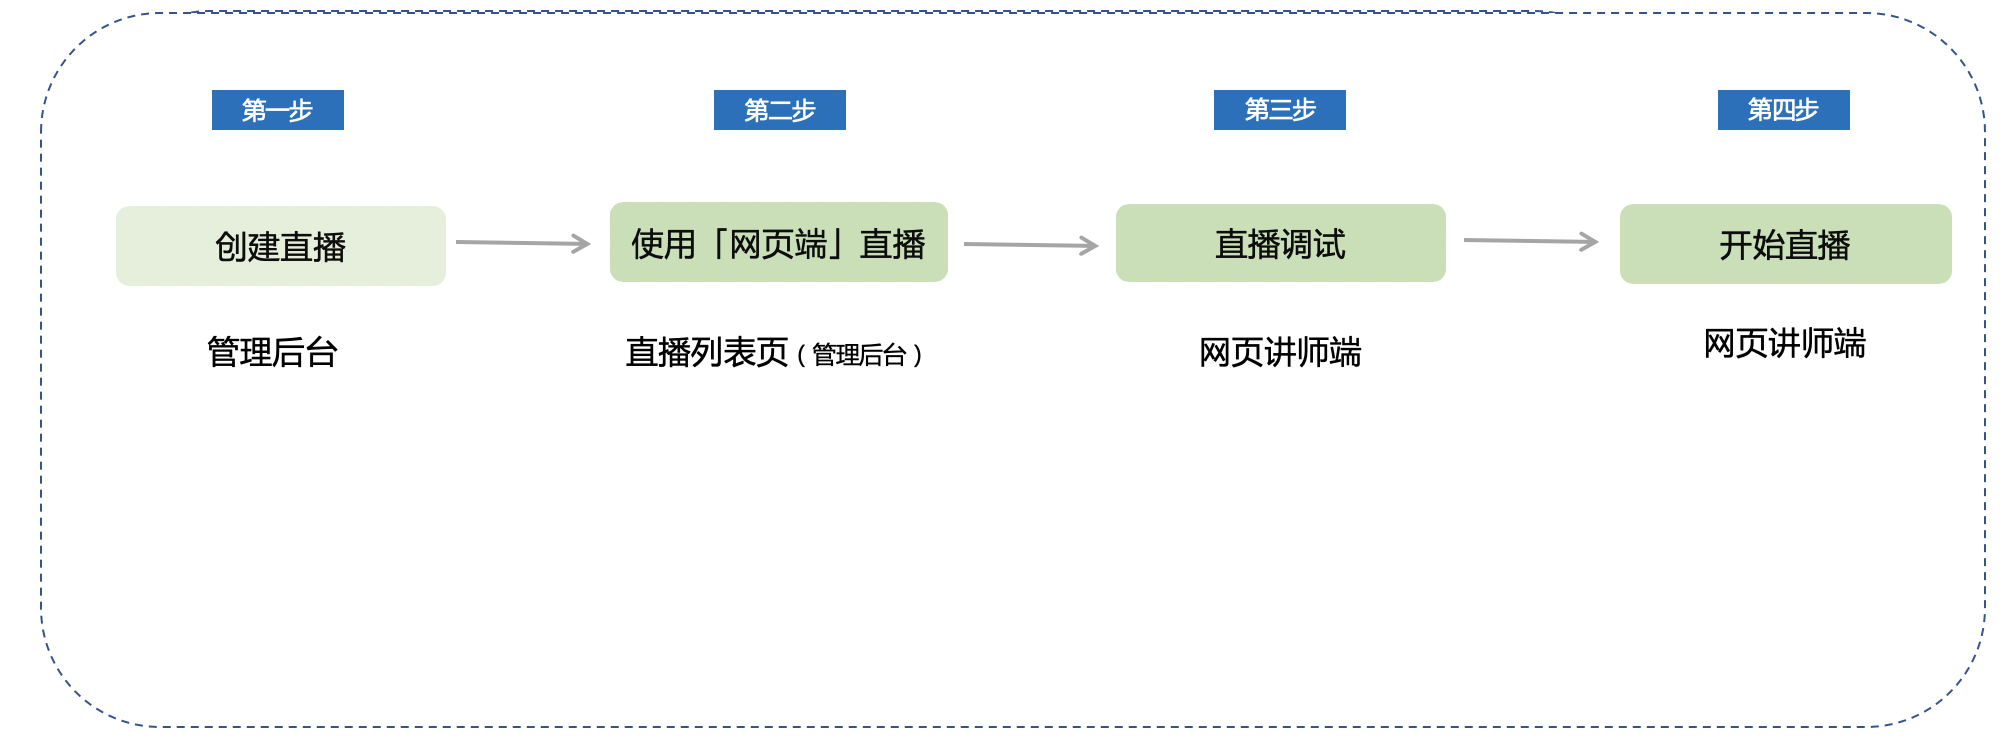
V. Usage Tutorial
Step 1 Create a live stream (Management background)
1. Enter the management background - Create a new live stream
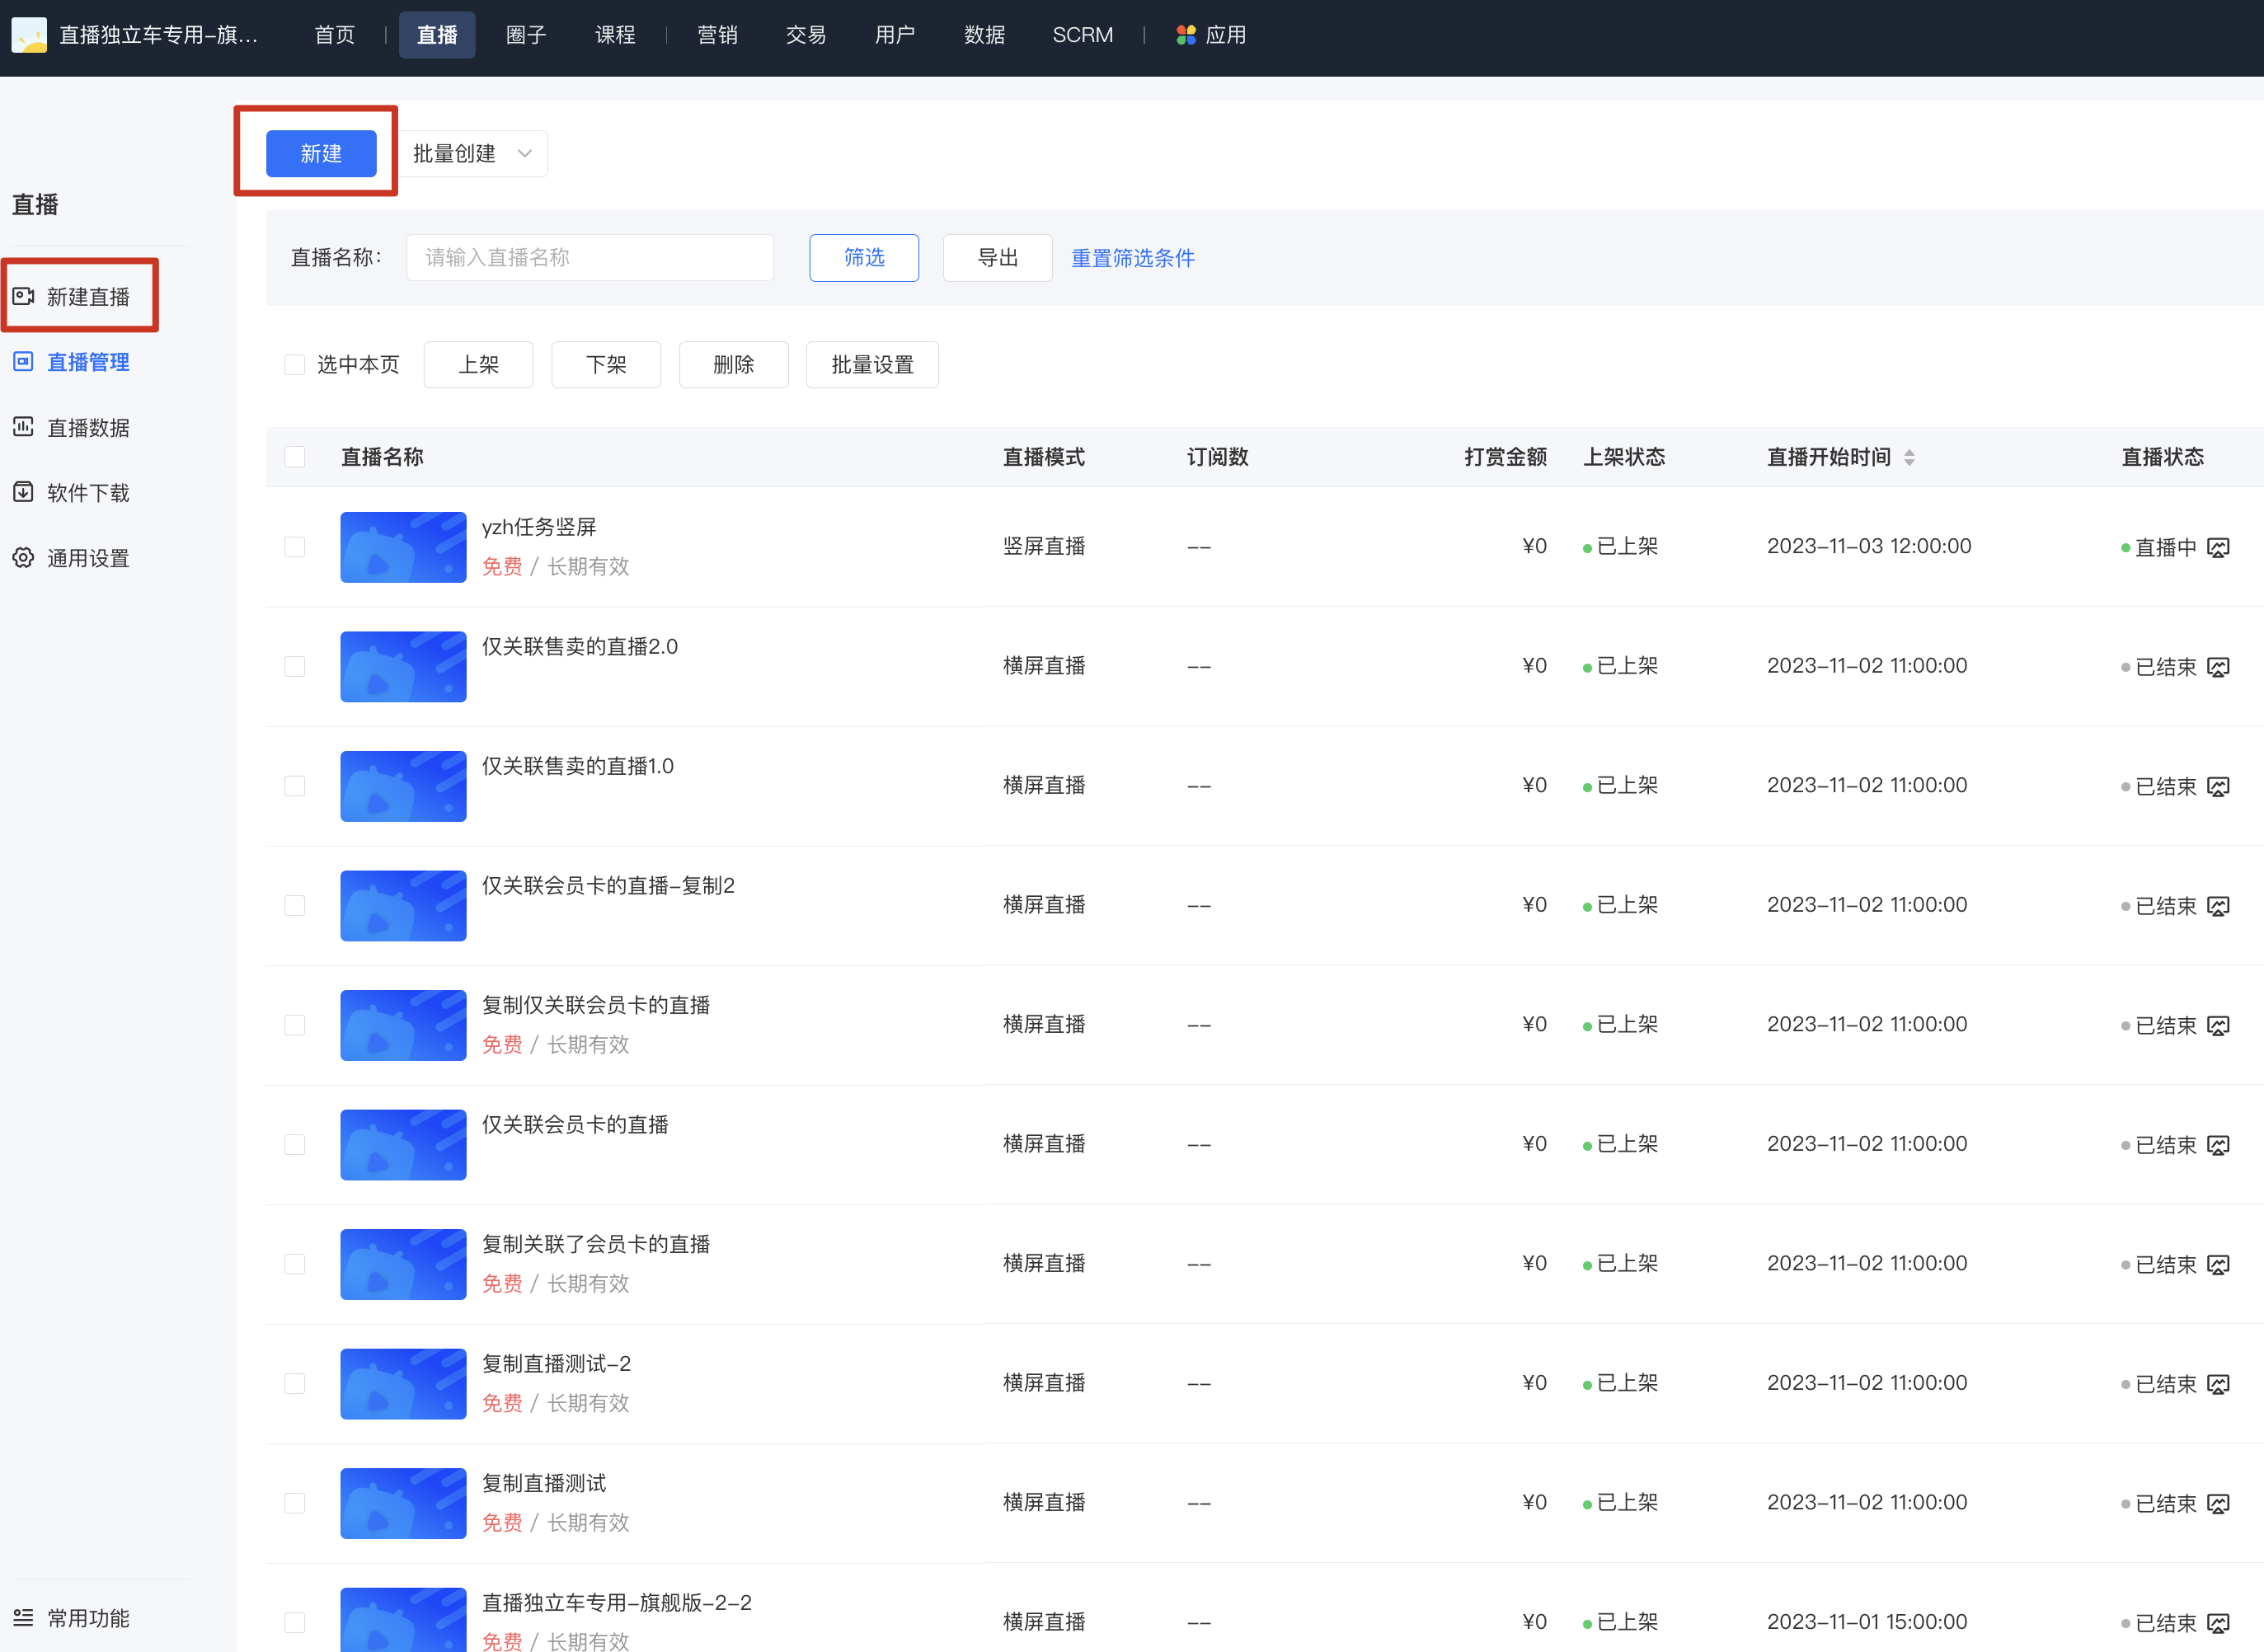
(Management background)
2. Fill in the live stream information and instructor settings, and click the Save button to complete the live stream creation
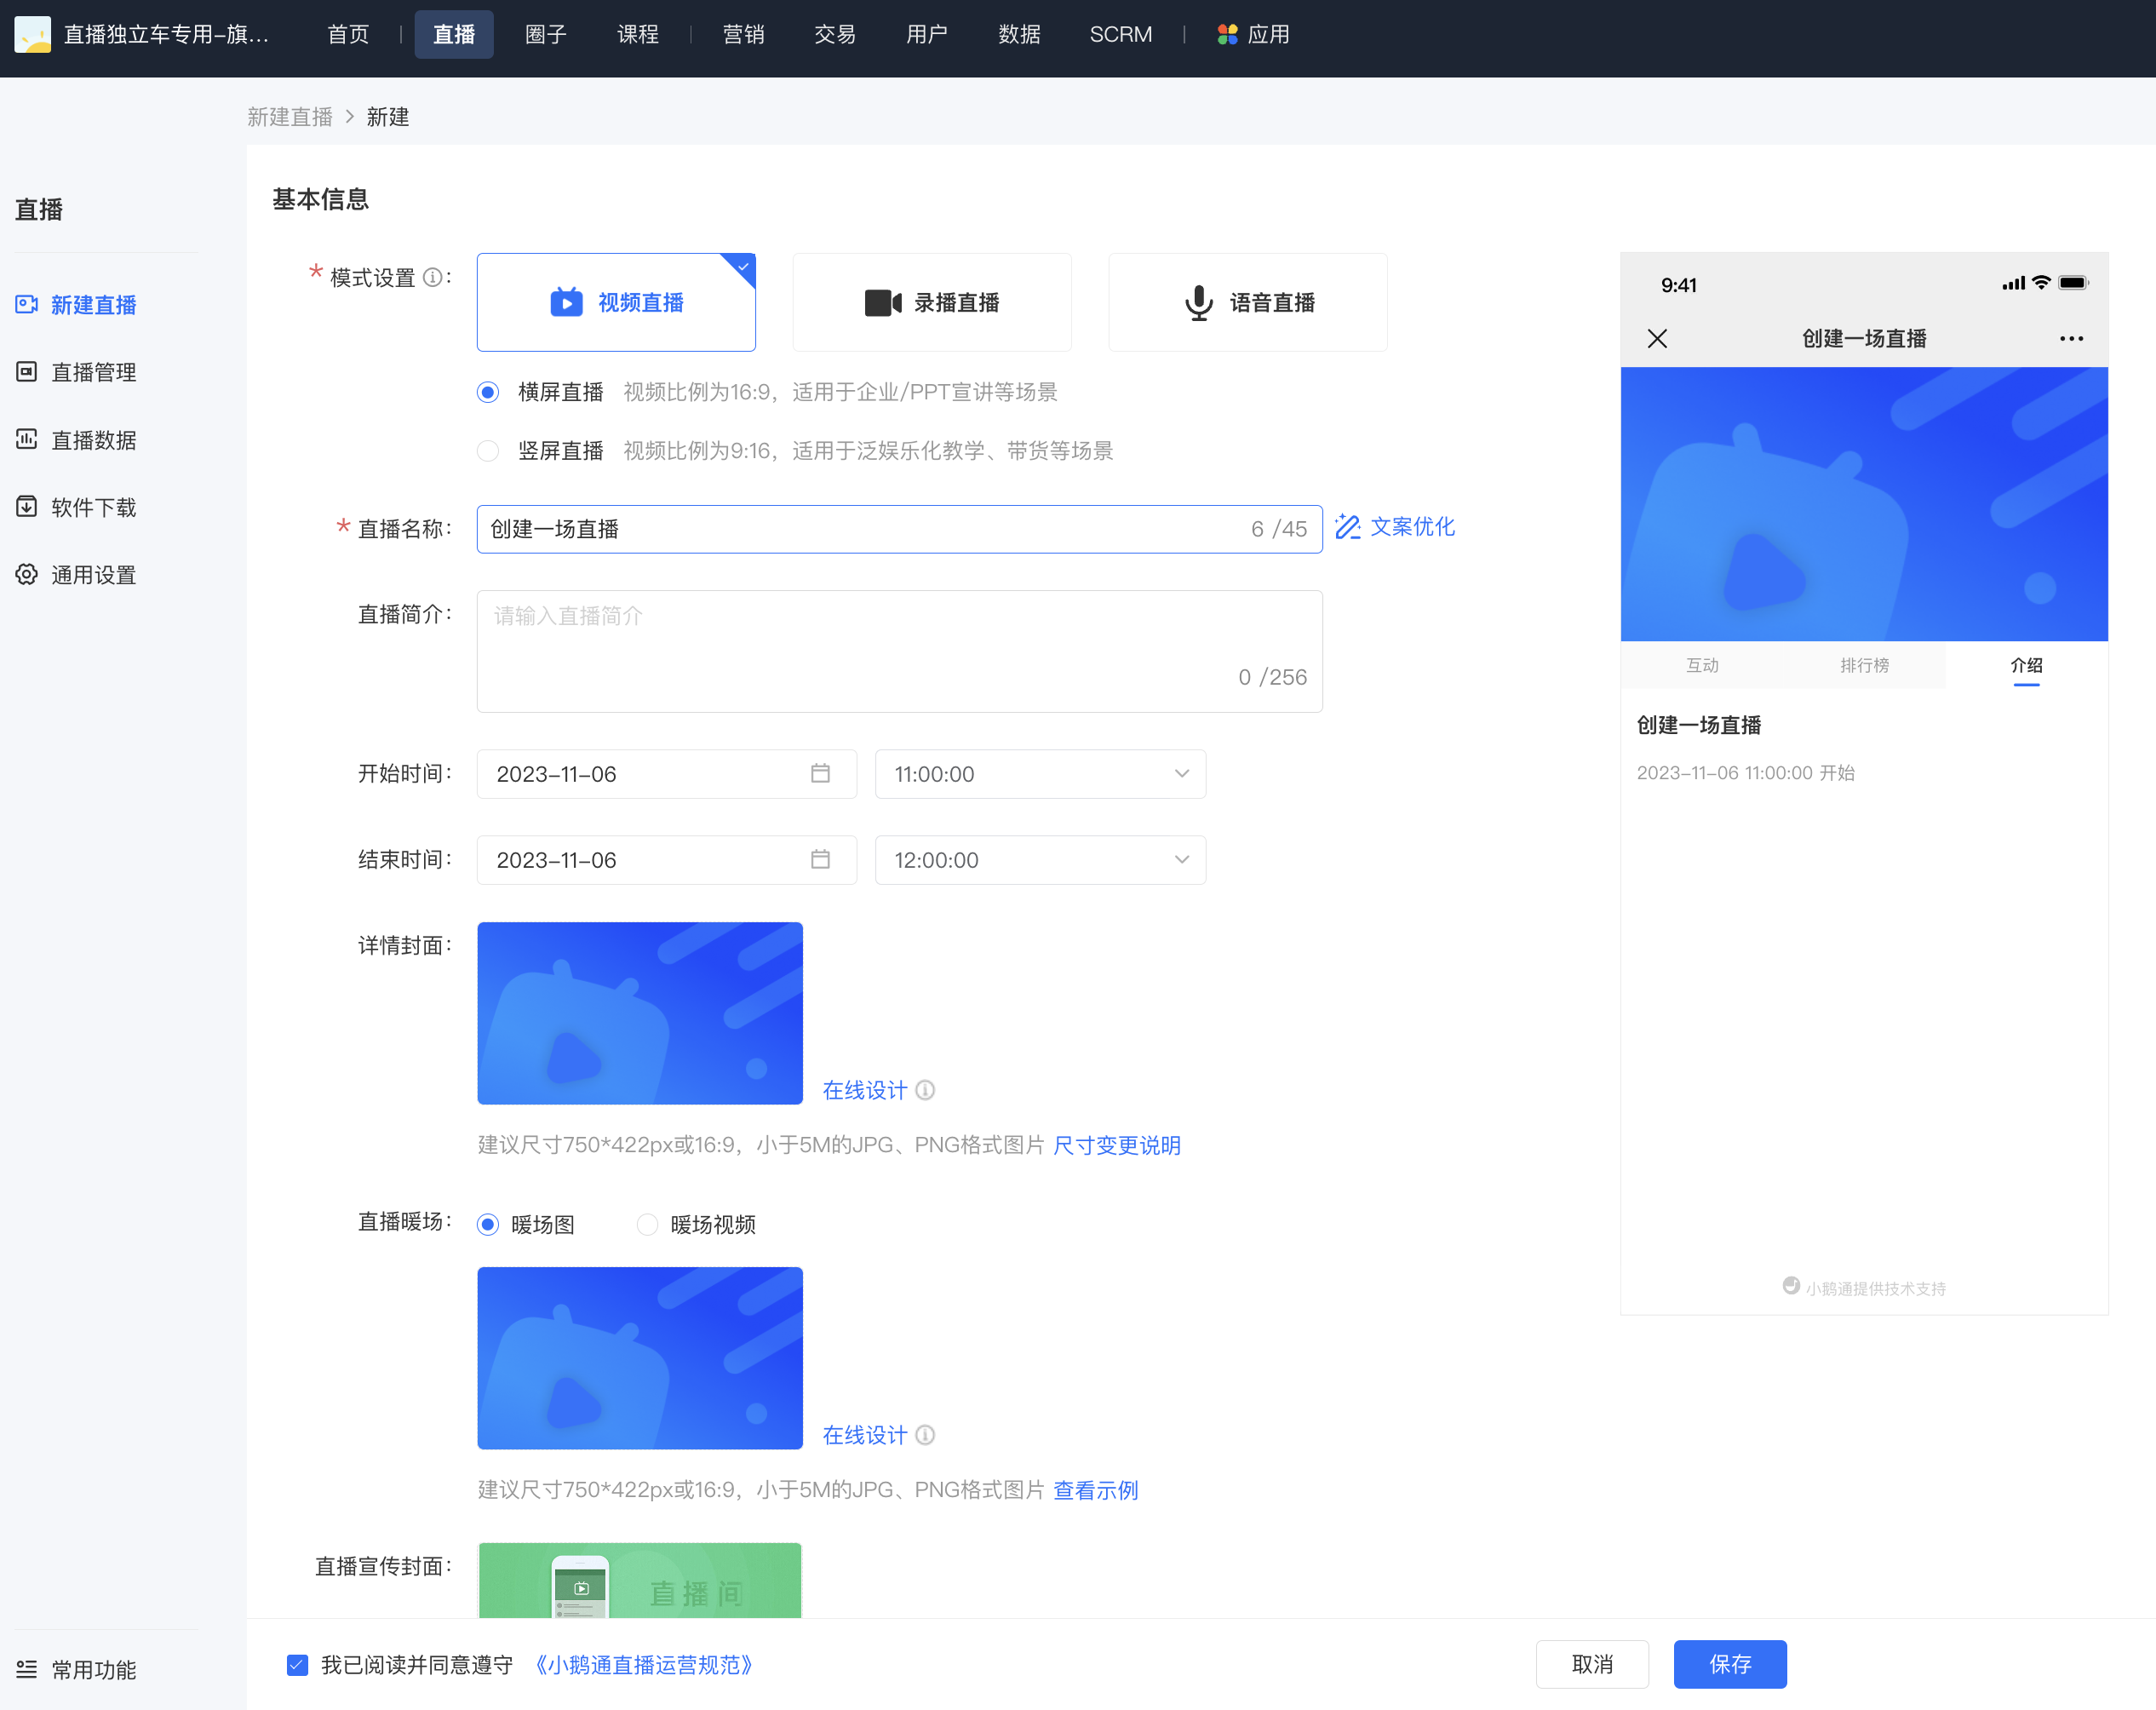
(Live stream creation page)
Step 2 After the creation is completed, click 'Go live' (Management background)
1. Find 'Live stream settings' - 'Live stream method' - 'Go live by yourself'
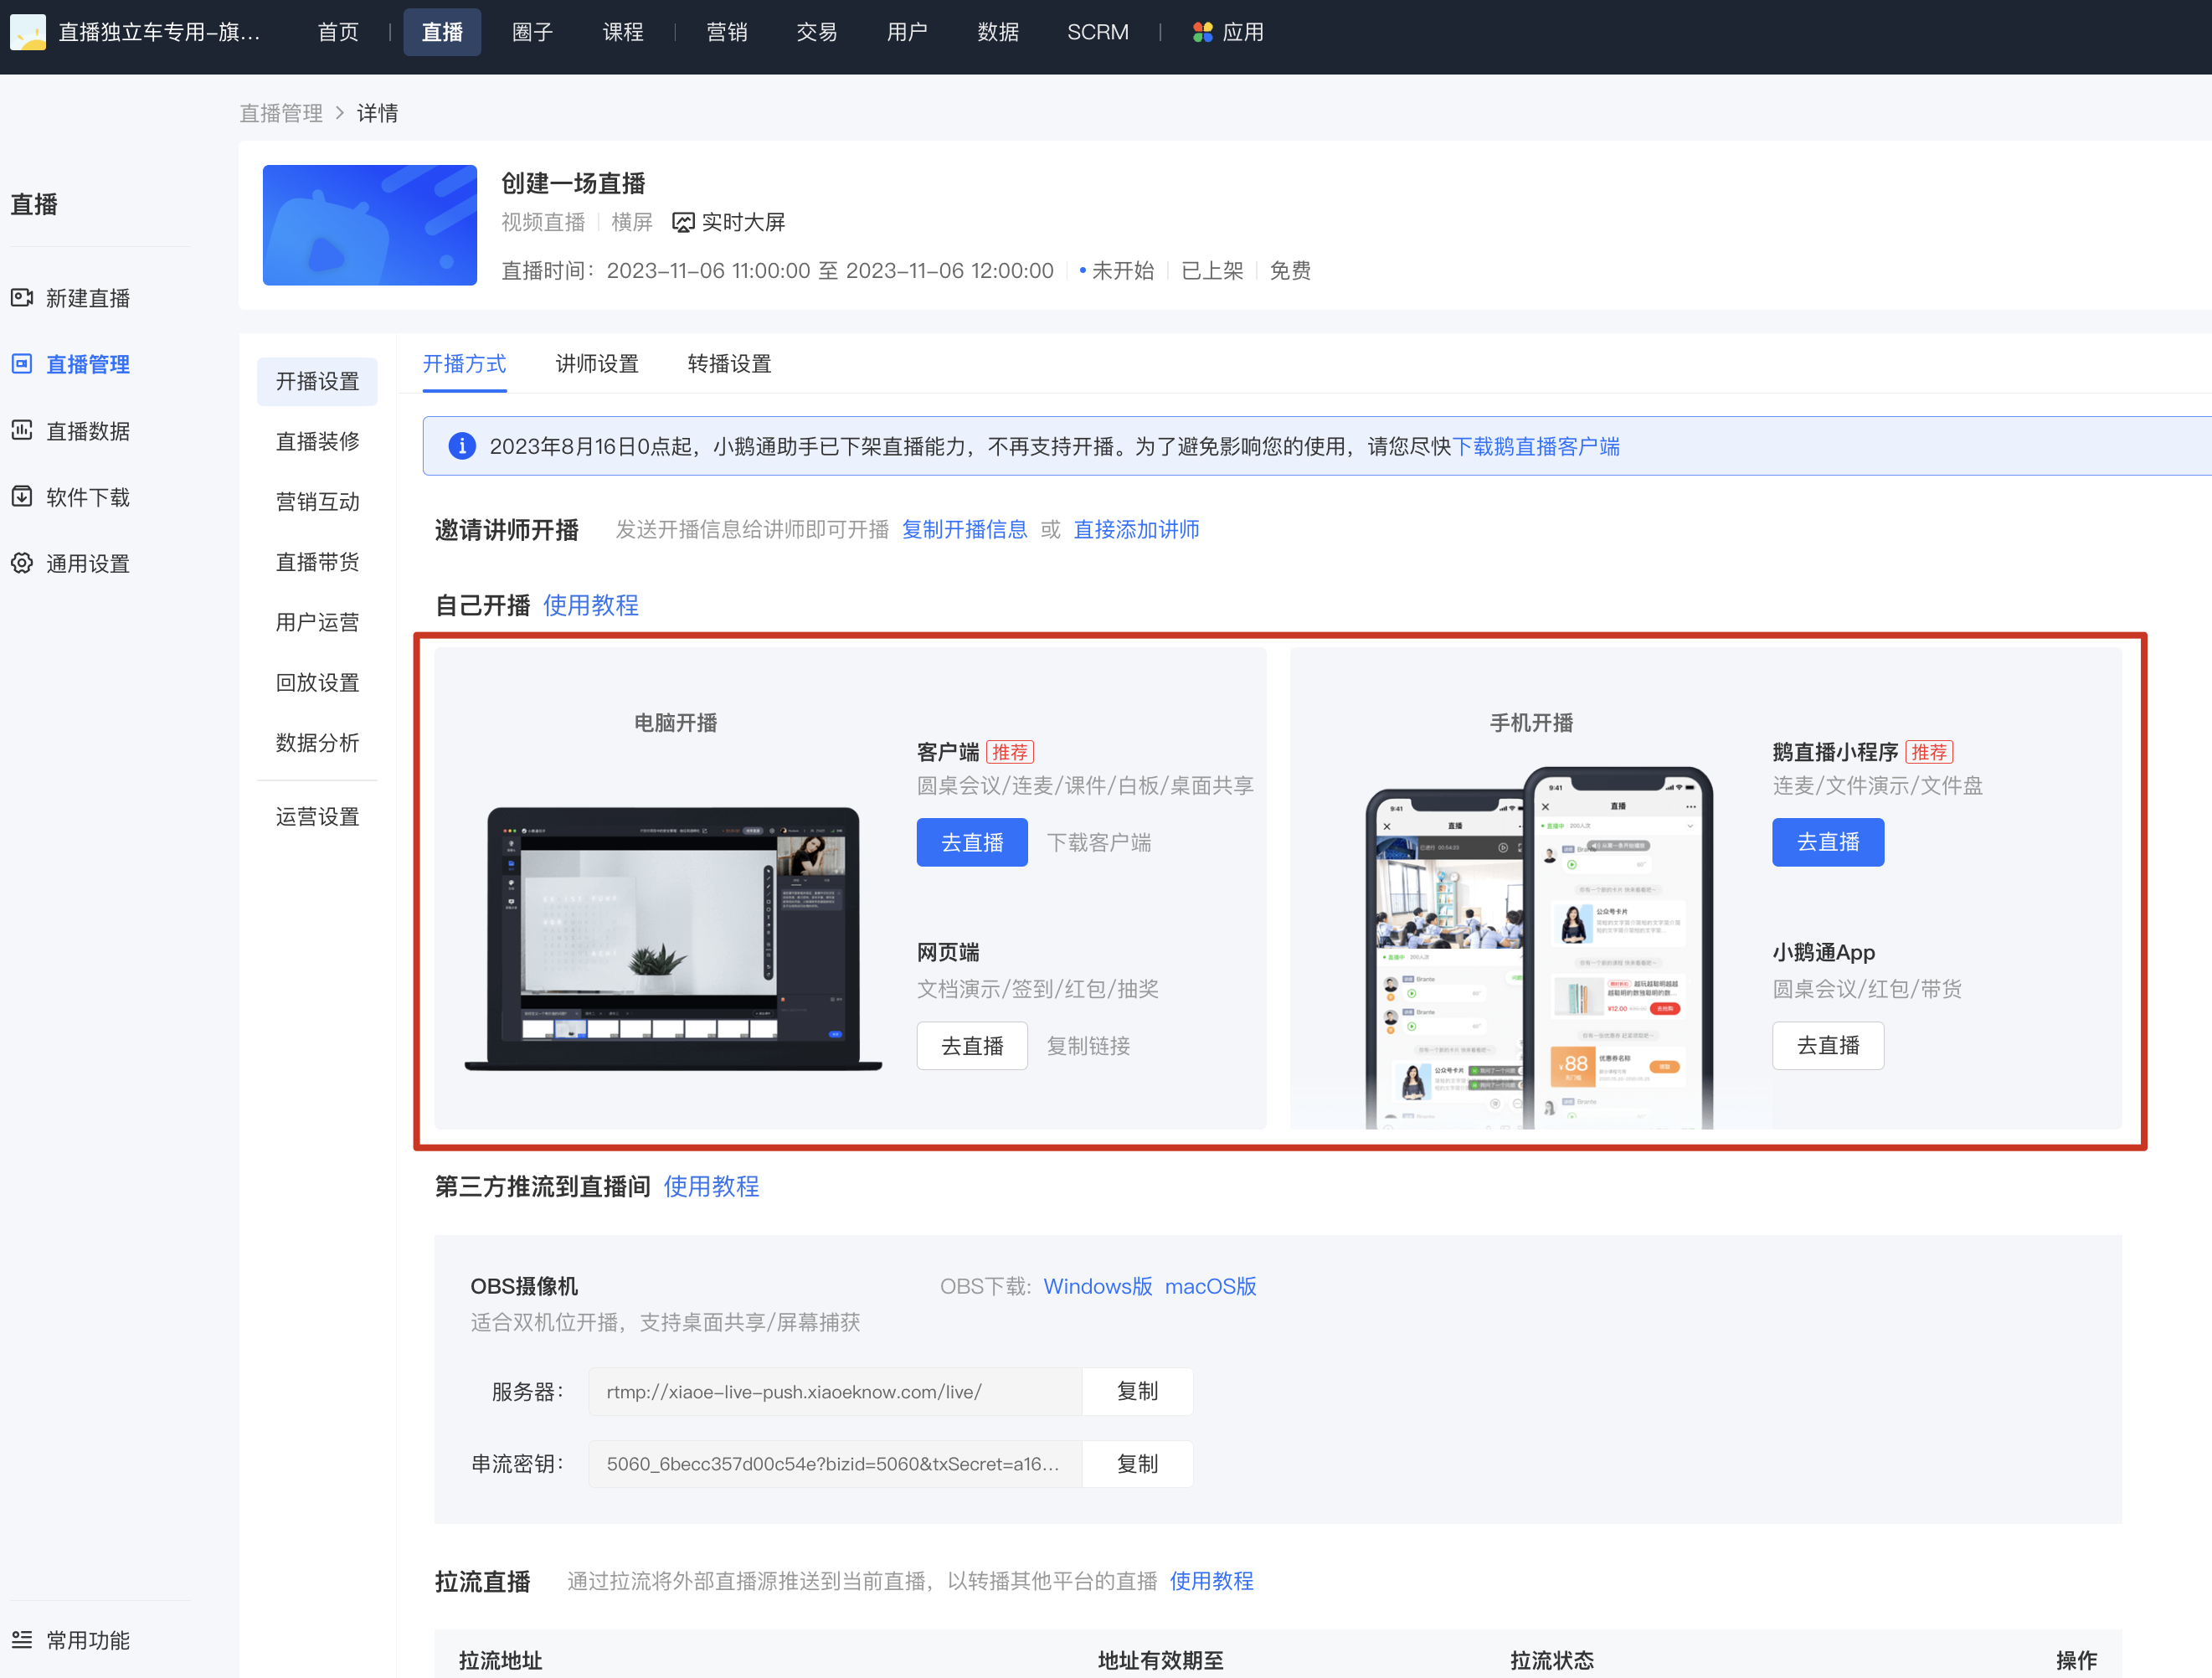
(Creation completed page)
2. Select the 'Web version' for live streaming (Management backend)
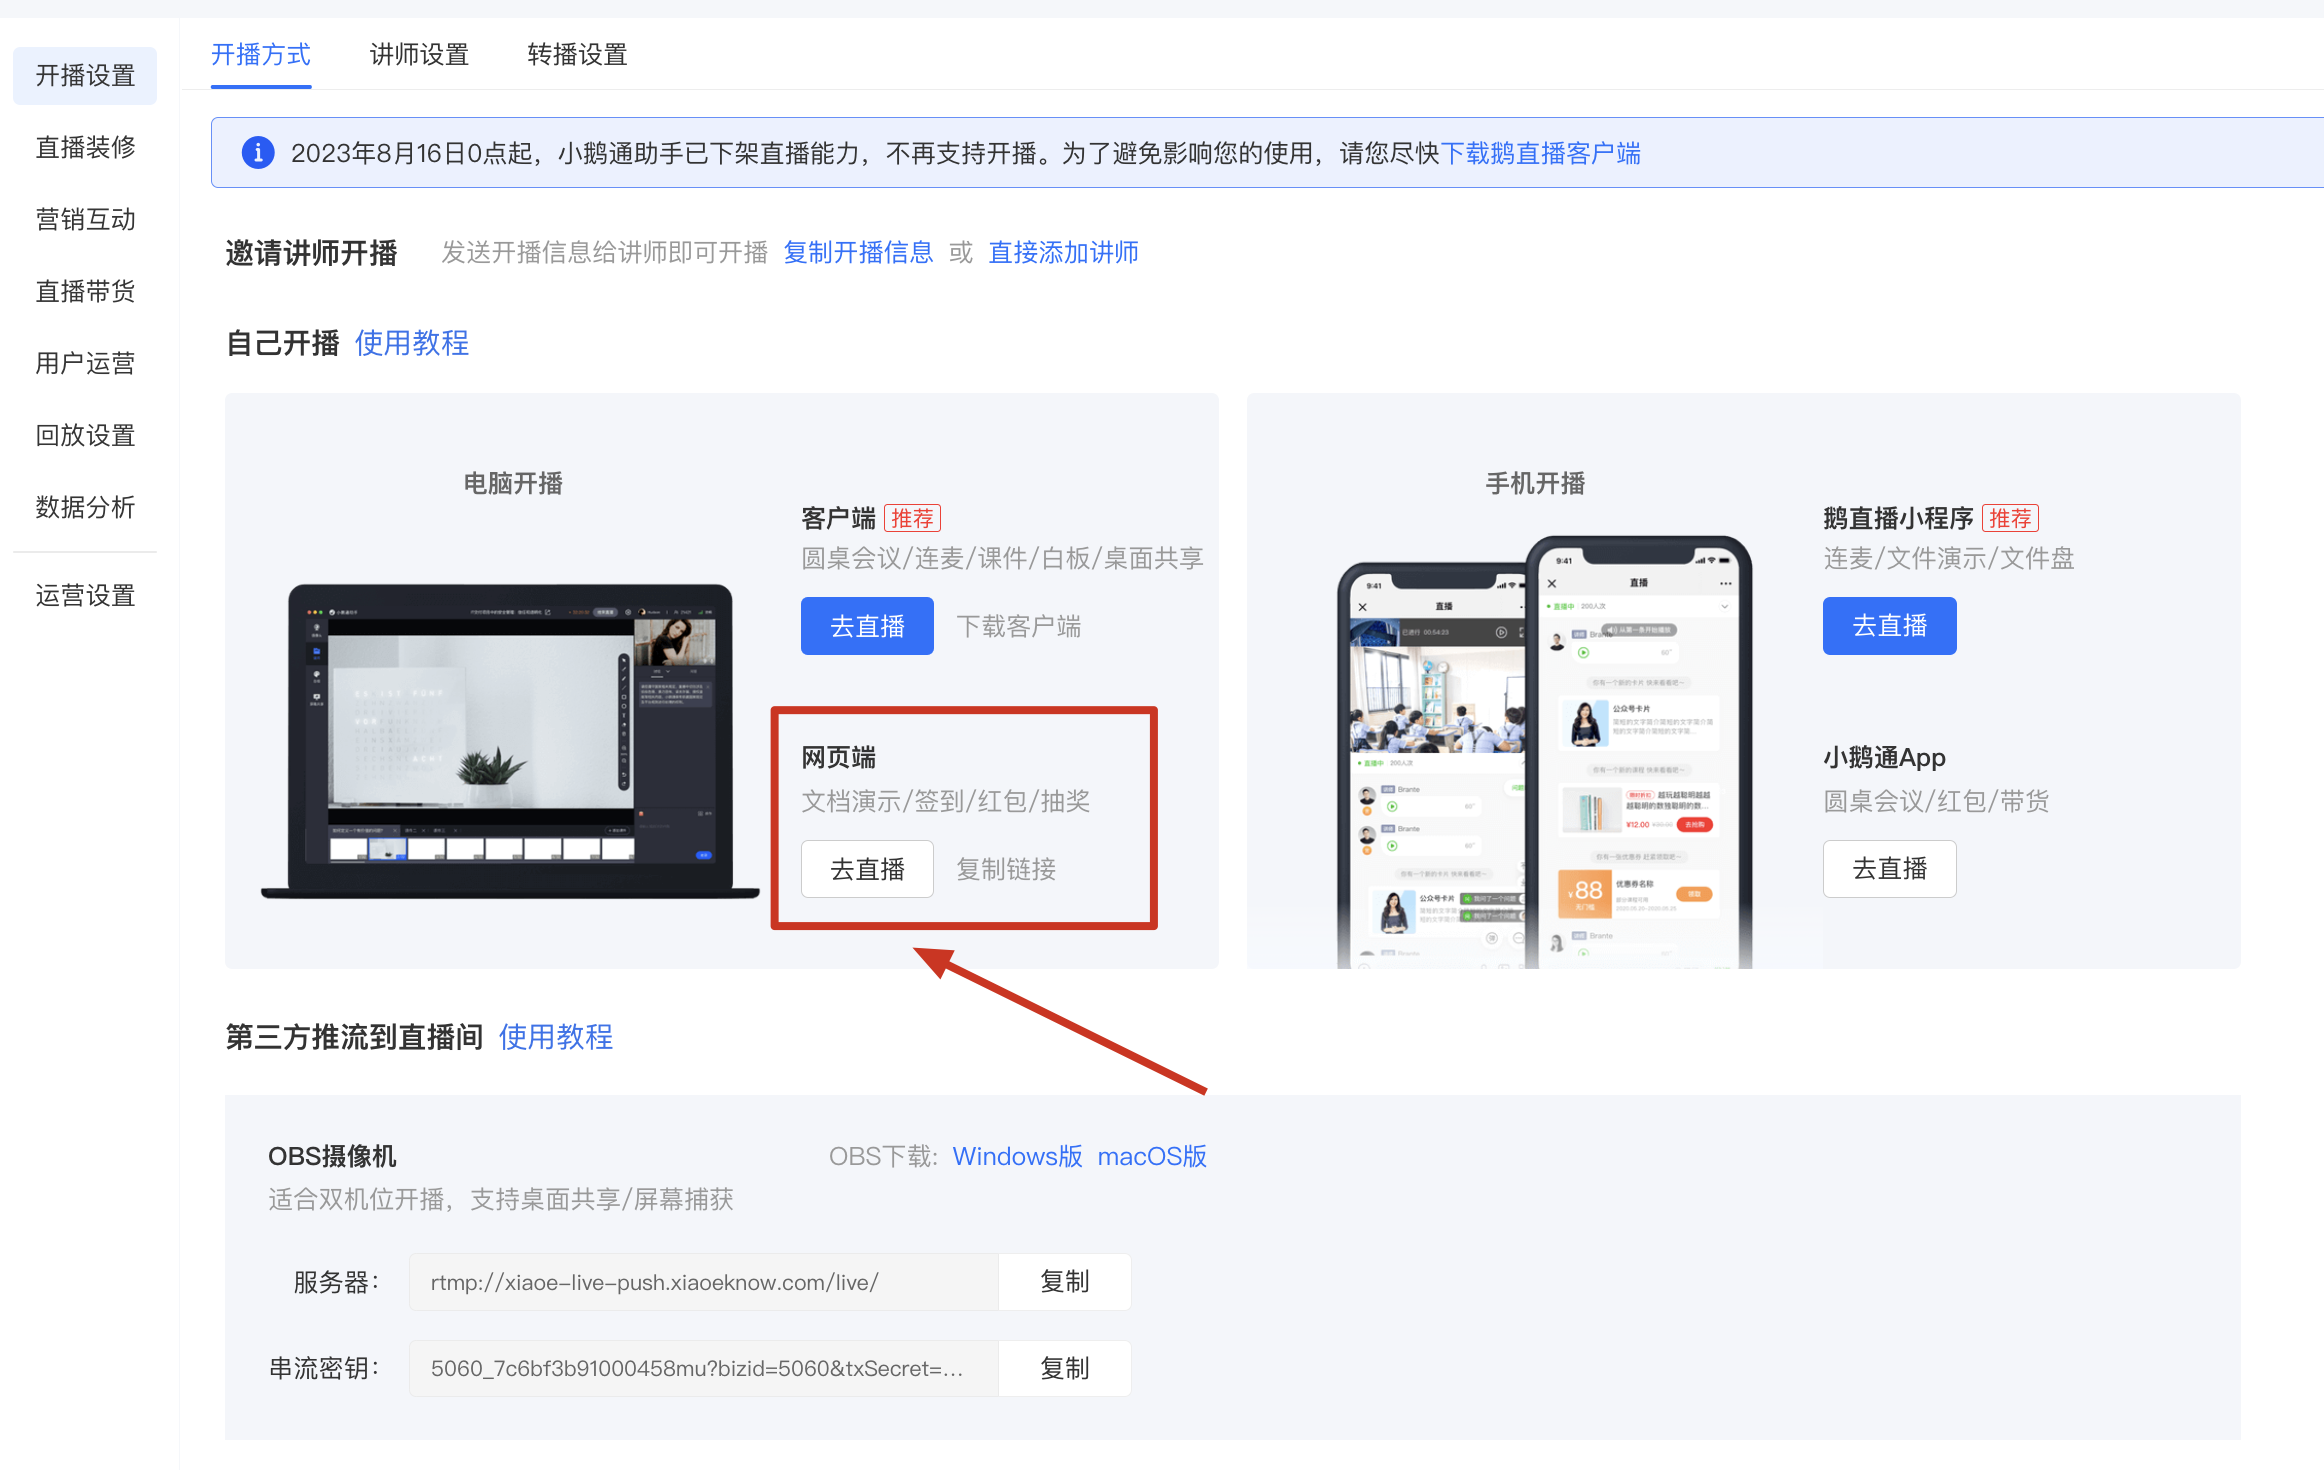
(Live streaming method selection page)
Step 3: Enter the web-based instructor console and conduct live streaming debugging (Web-based instructor console)
1. After entering the live streaming room, check whether your camera and microphone are working properly as prompted.
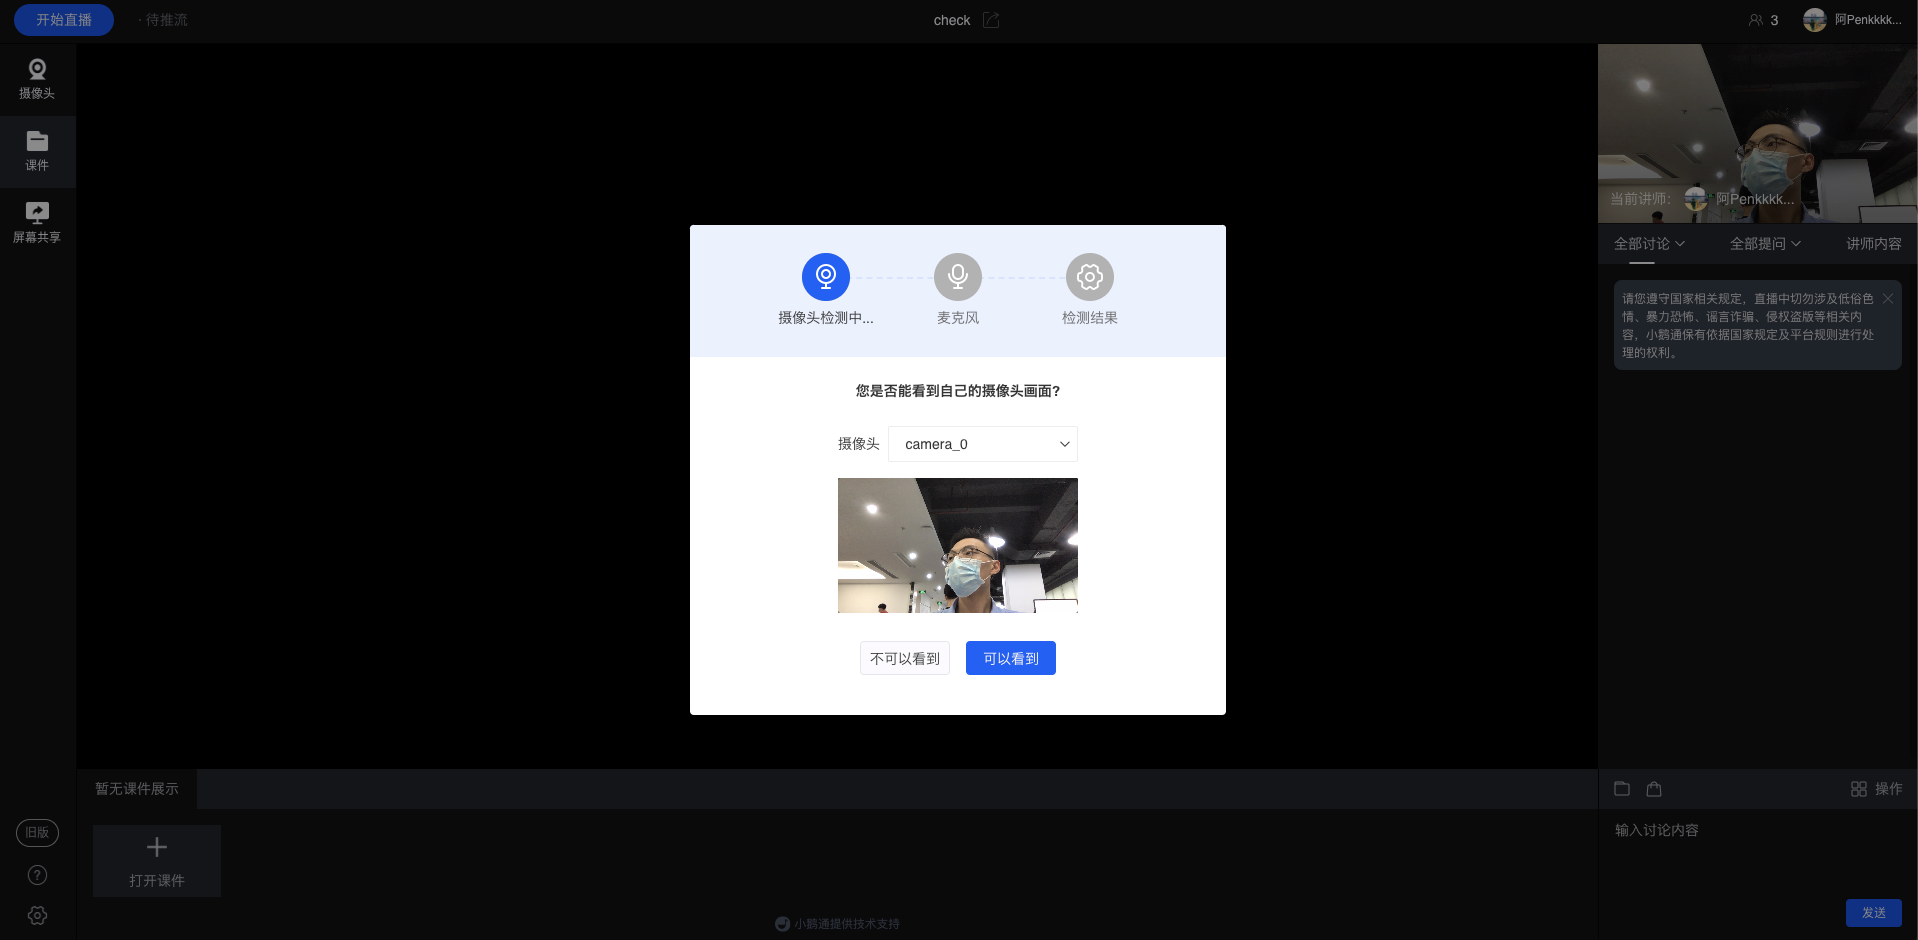
(Live streaming instructor console)
2. You can upload relevant courseware PDFs in advance.
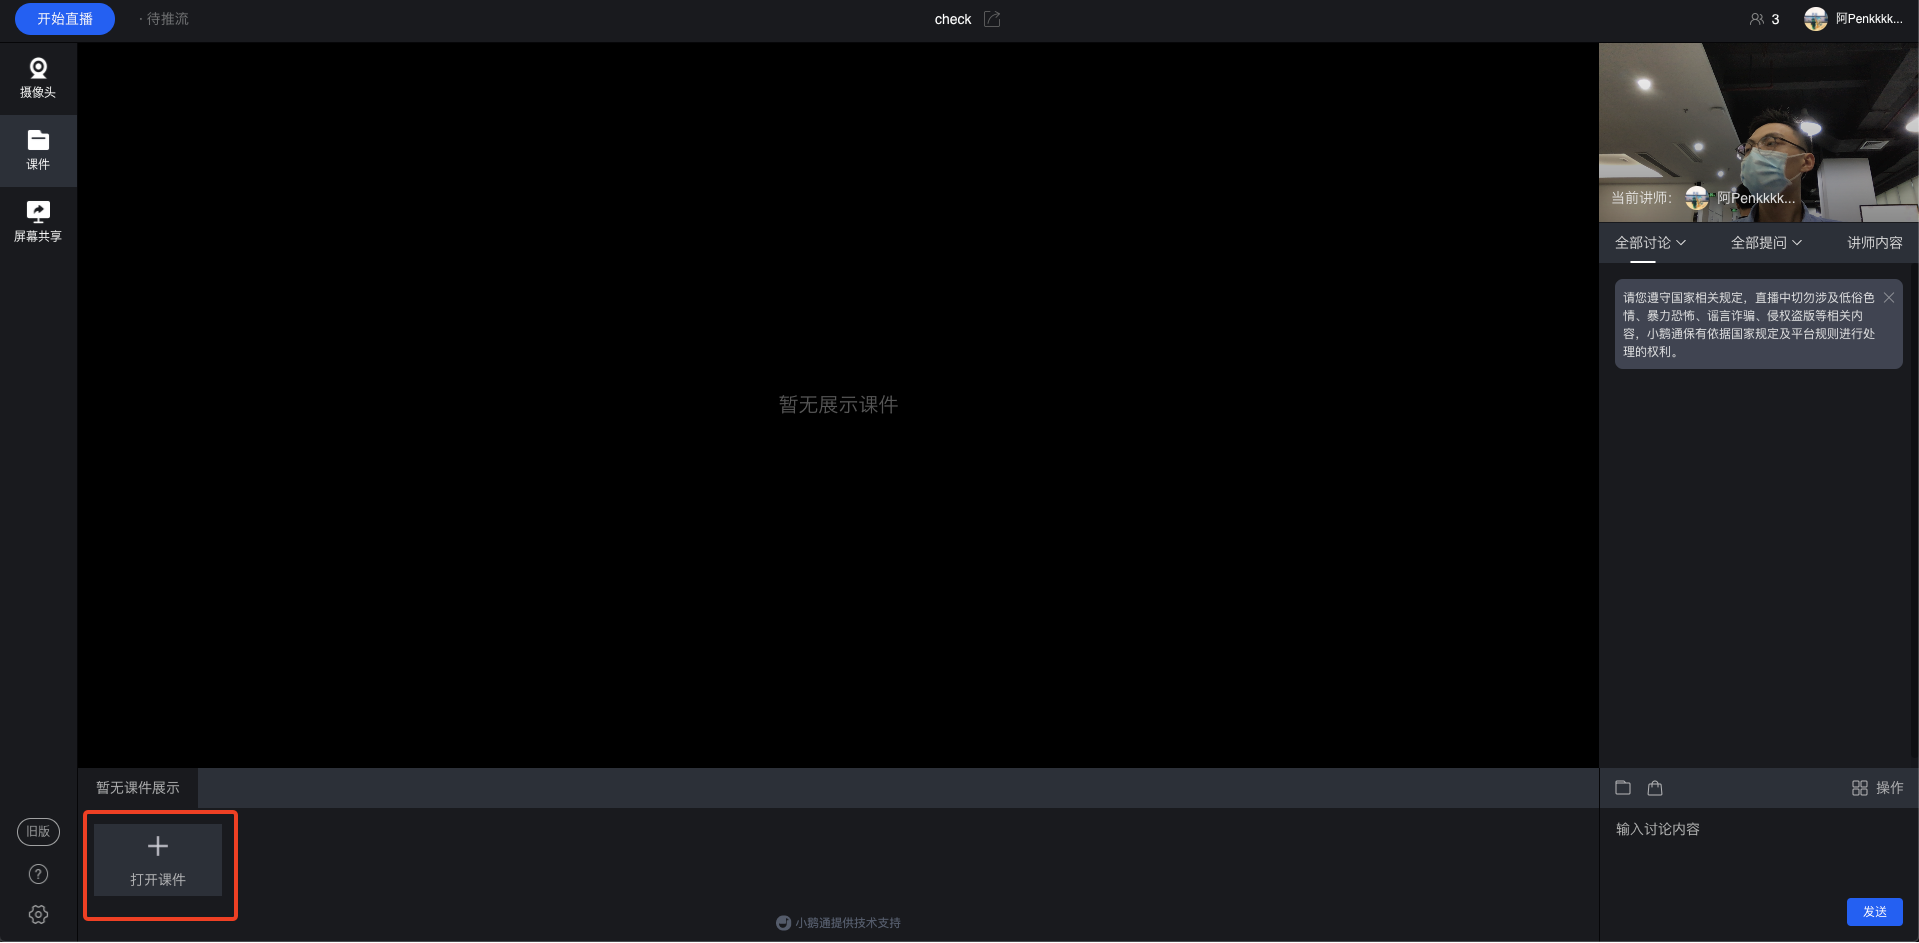
(Live streaming instructor console)
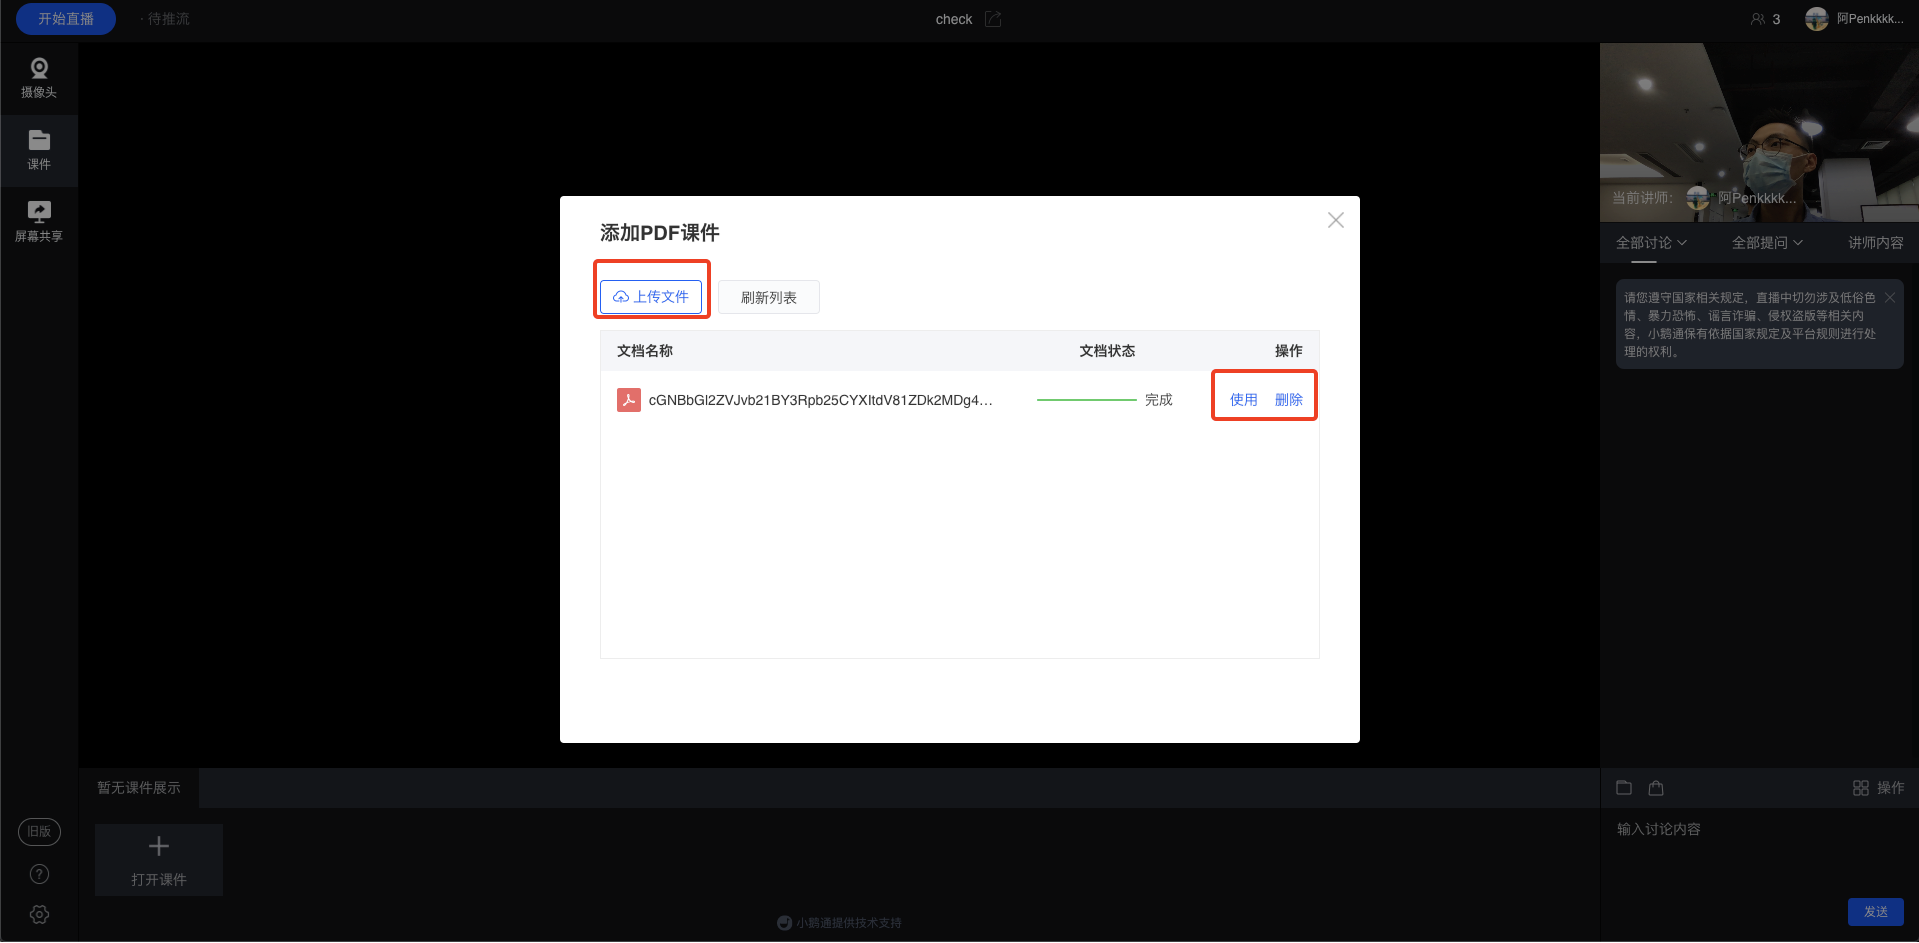
(Courseware management page)
Step 4: Start the live streaming (Web-based instructor console)
1. After the devices and courseware are uploaded, click 'Start Live Streaming' in the top - left corner to begin the live streaming.
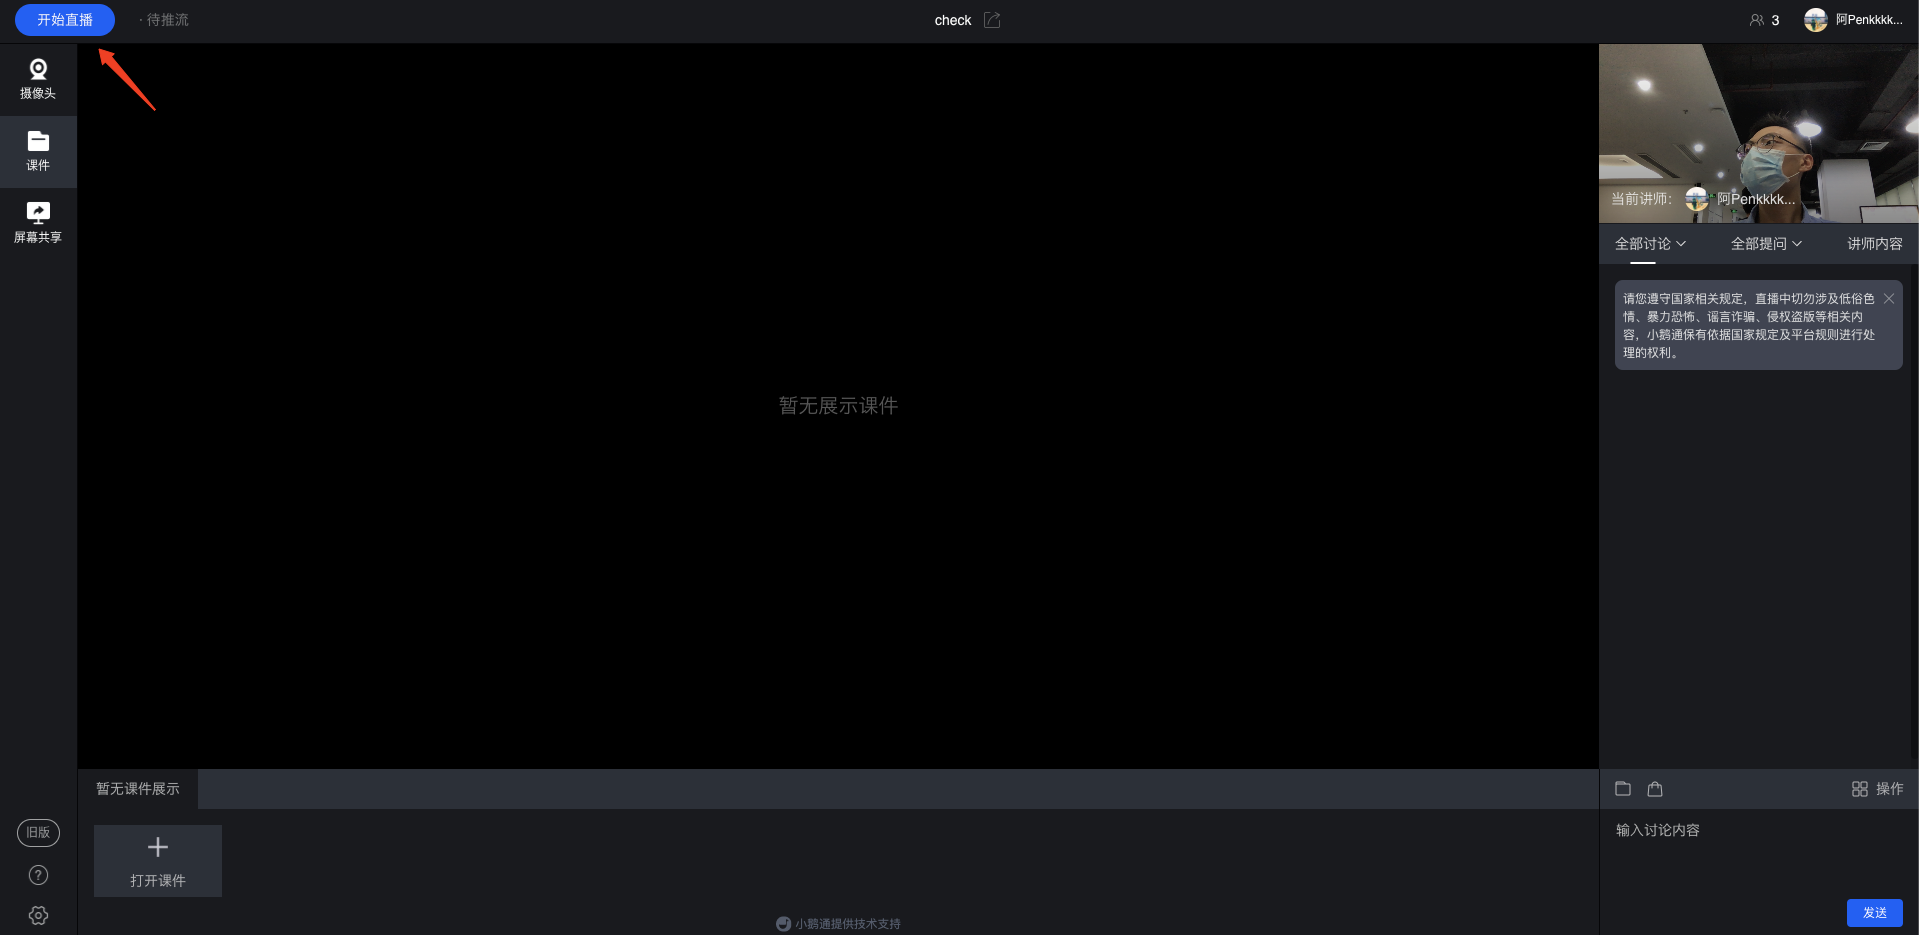
(Live streaming instructor console)
2. Click 'Camera', 'Courseware' & 'Screen Sharing' on the left to switch the live streaming mode at any time.
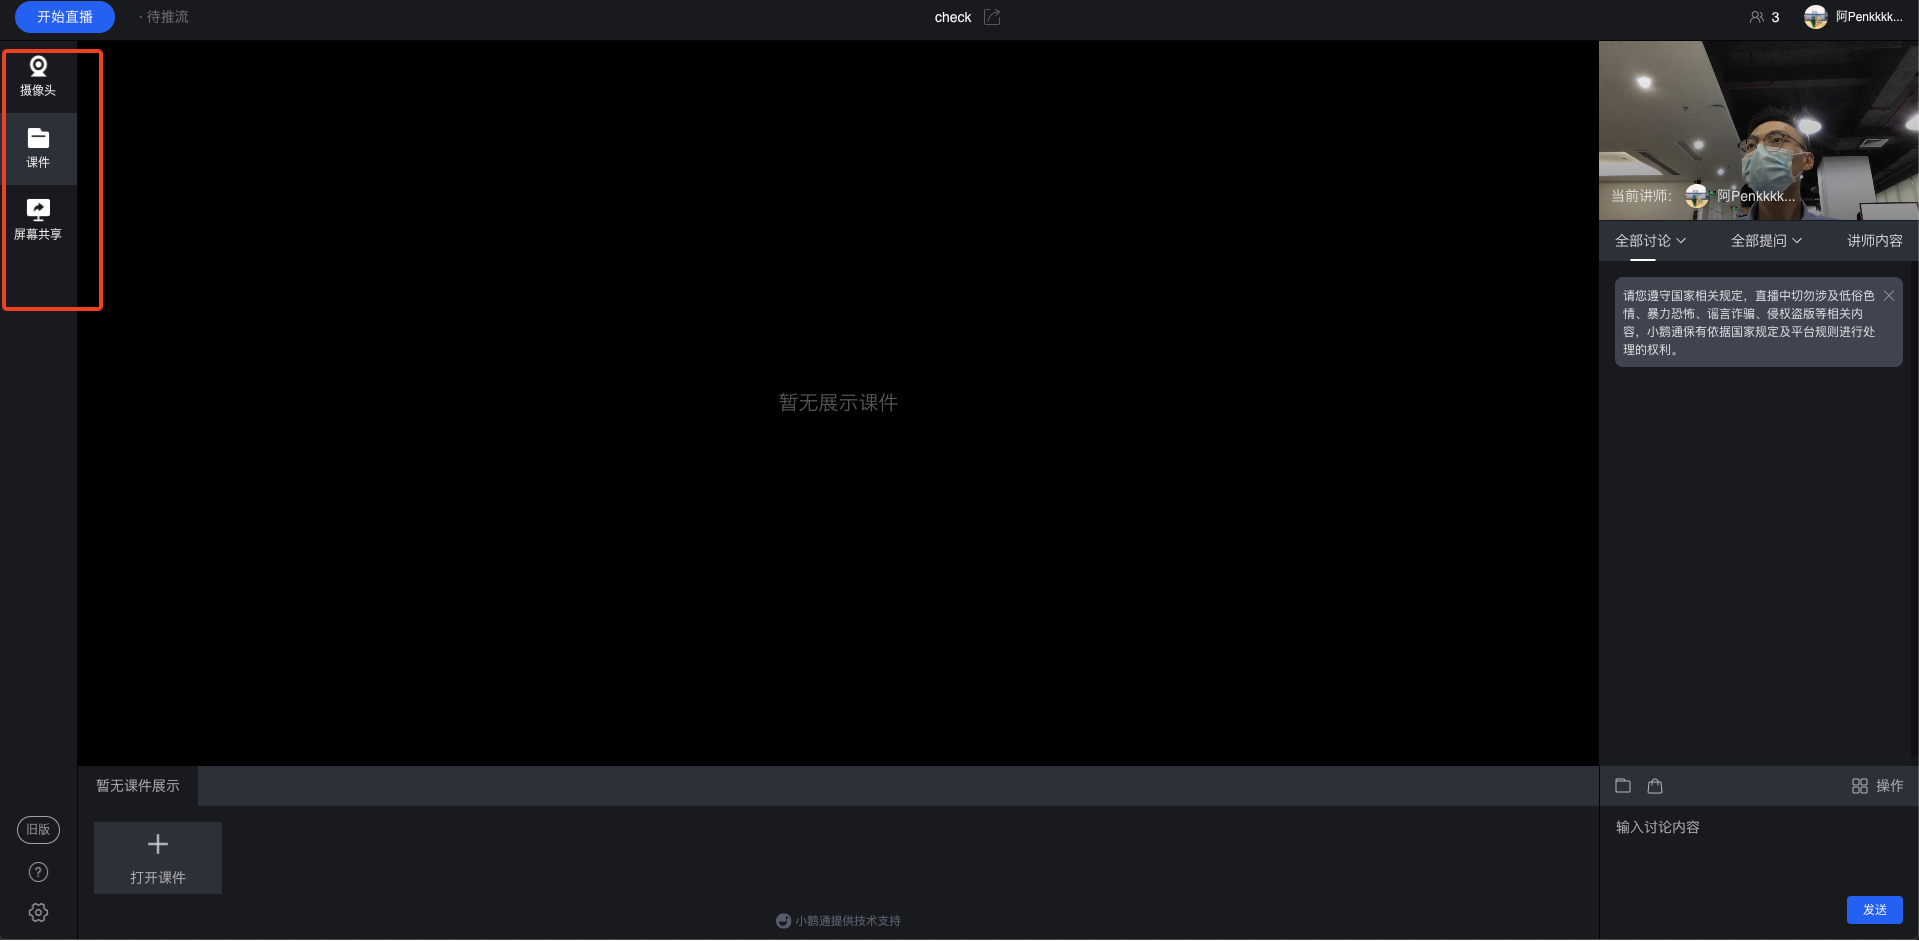
(Live streaming instructor console)
When the live streaming mode is 'Screen Sharing', you can click 'Window Switching' on the right to switch the screen window.
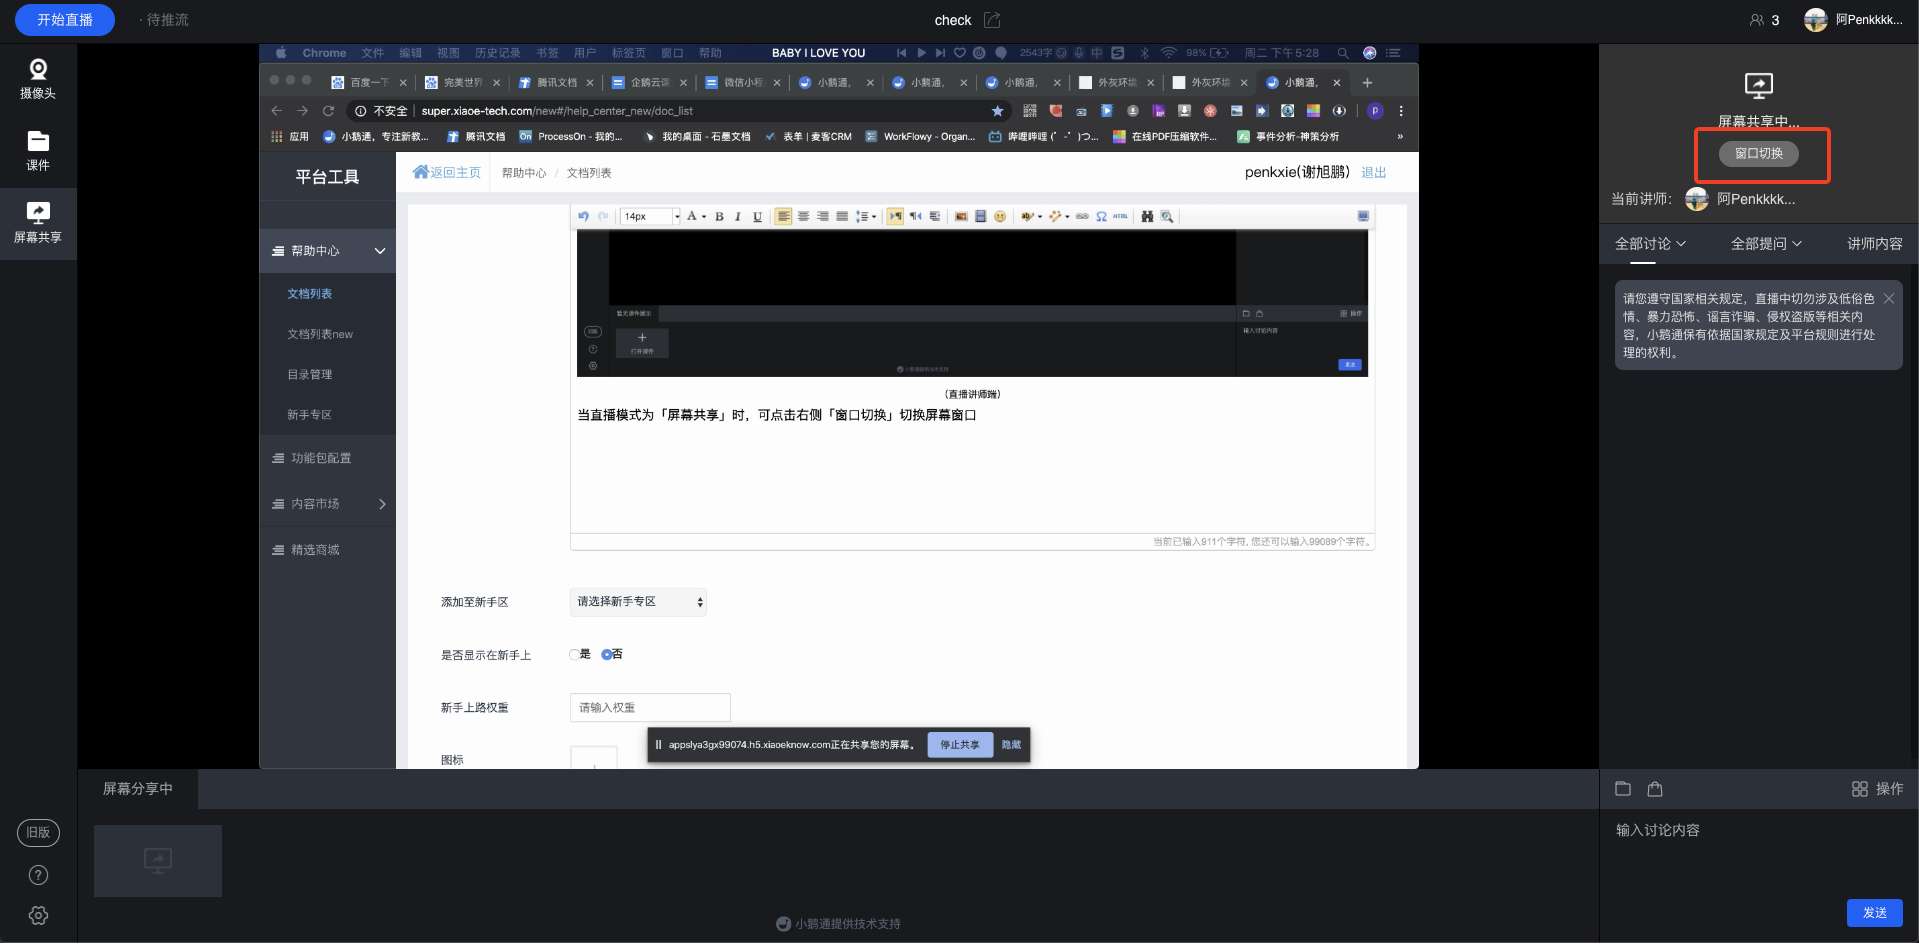
(Click 'Window Switching' to...)
3. Other operations
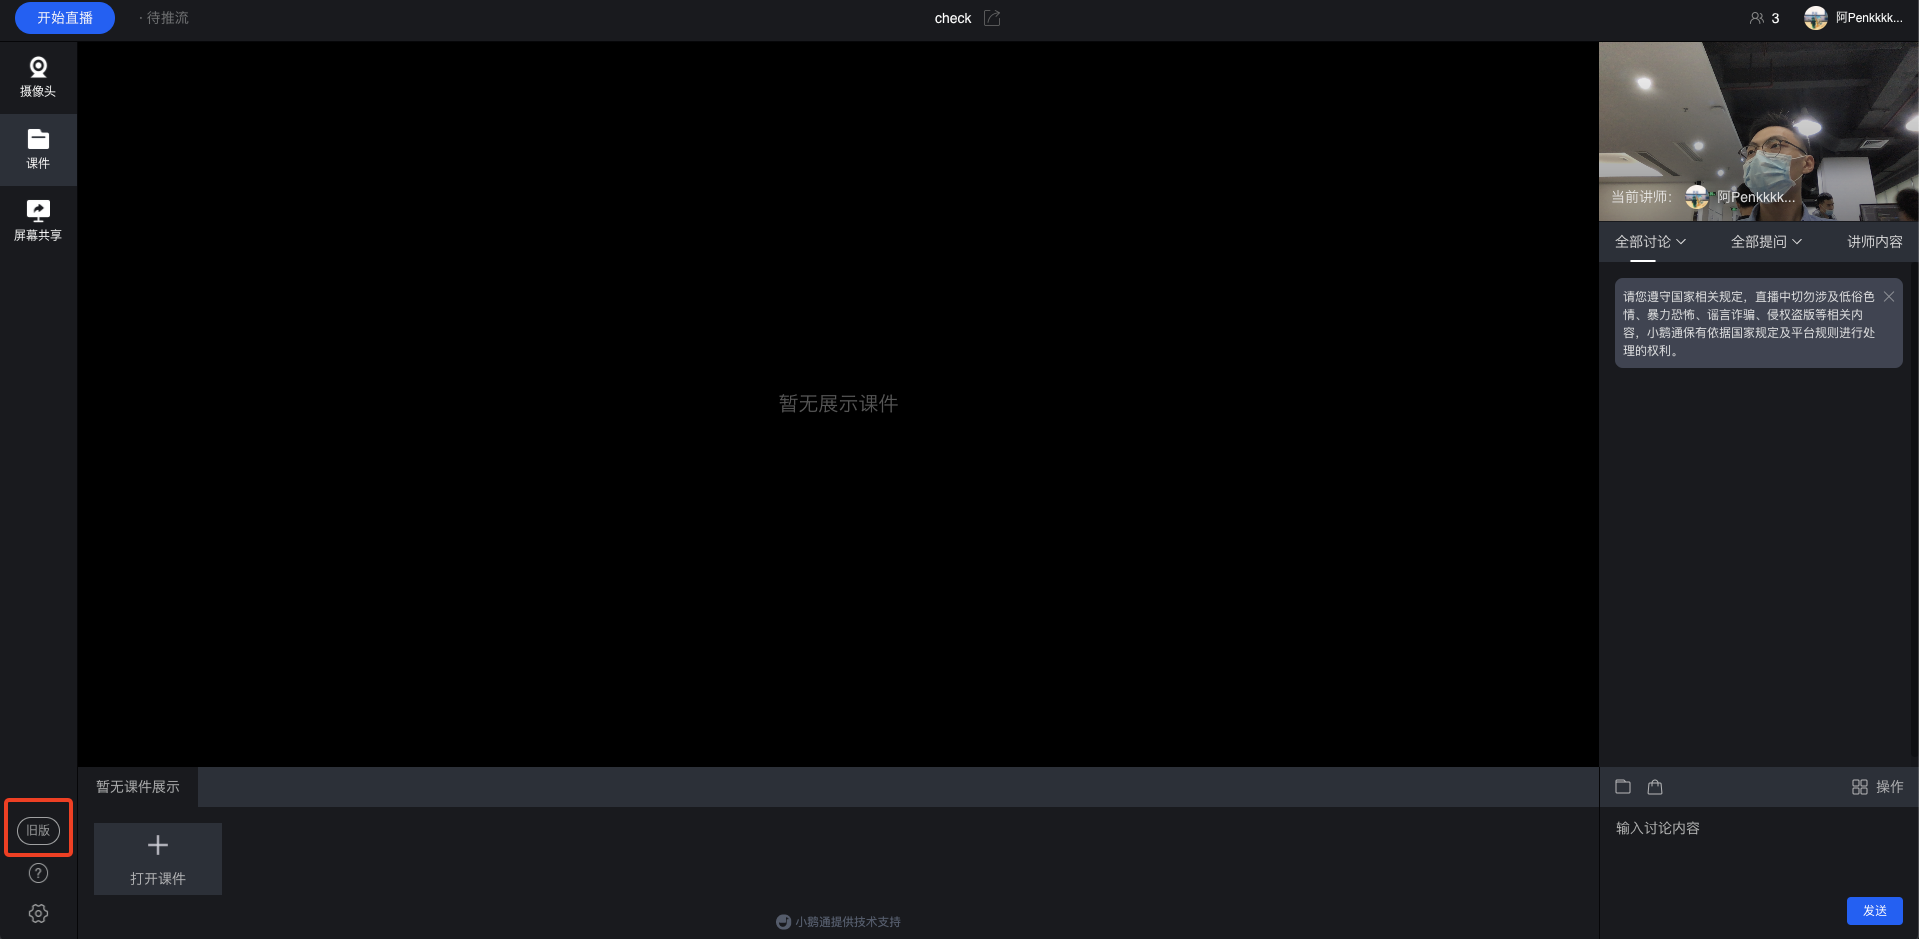
● Switch to the old - version live streaming room style
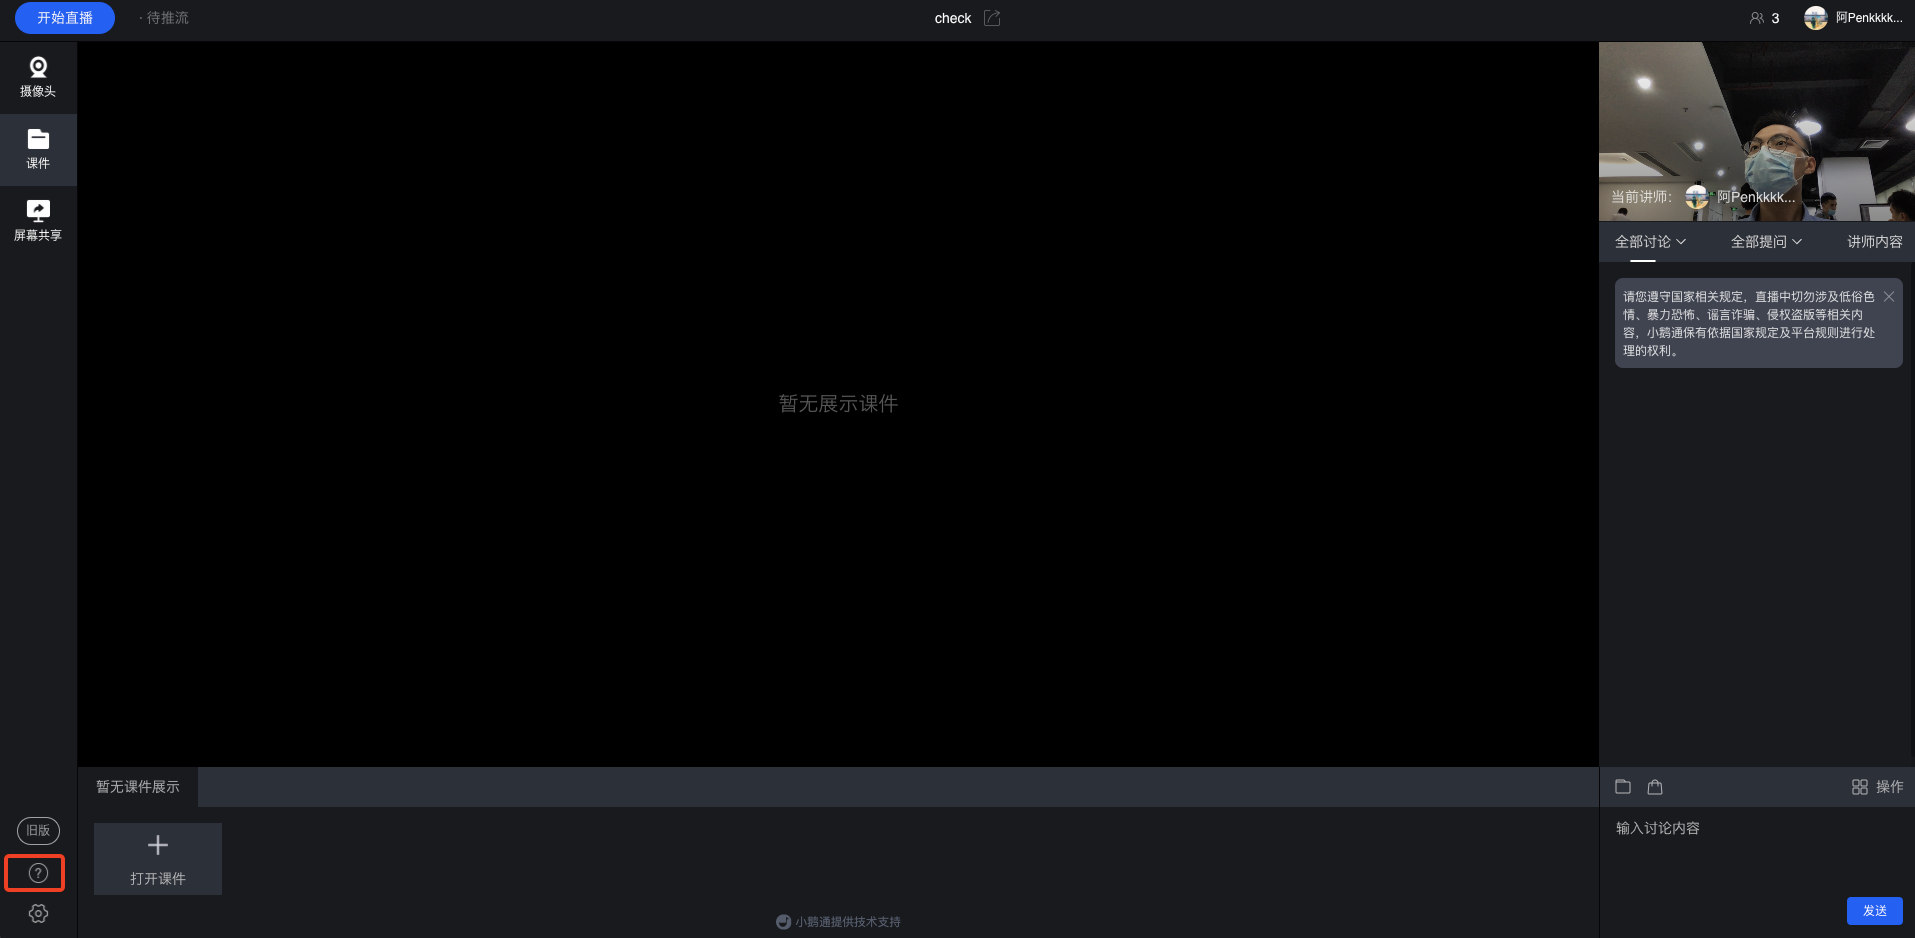
● View the usage tutorial
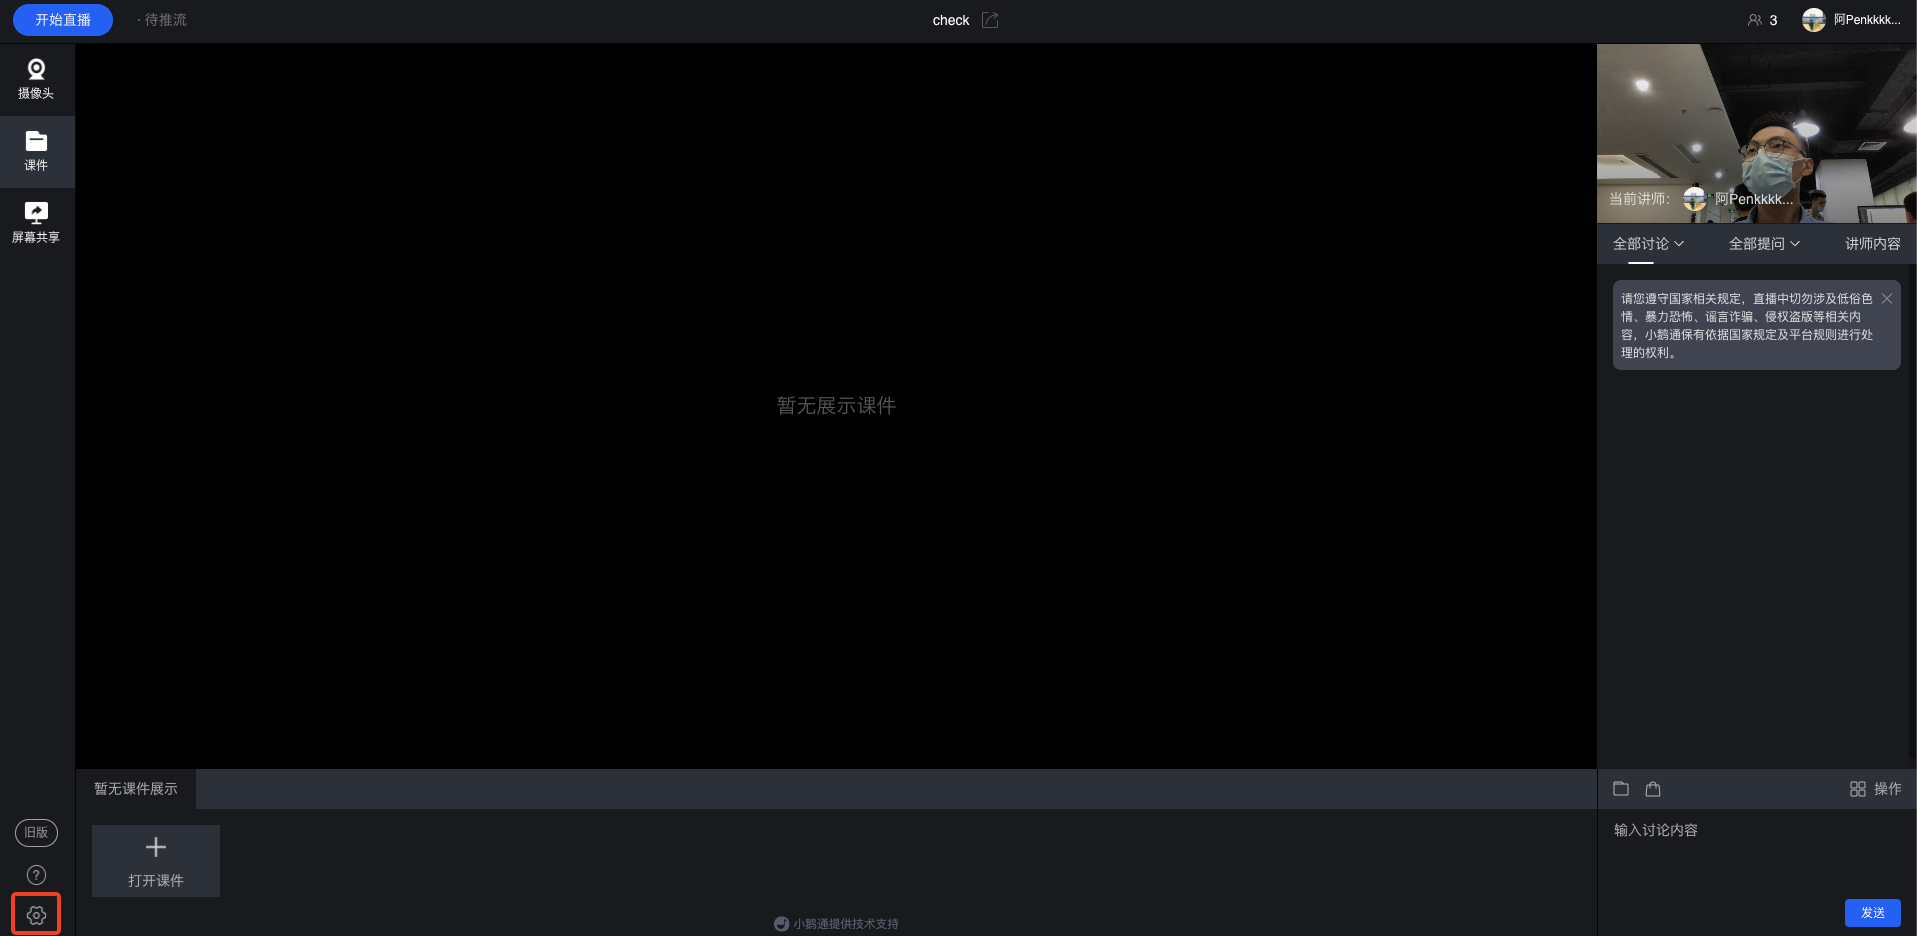
● Re - check the devices
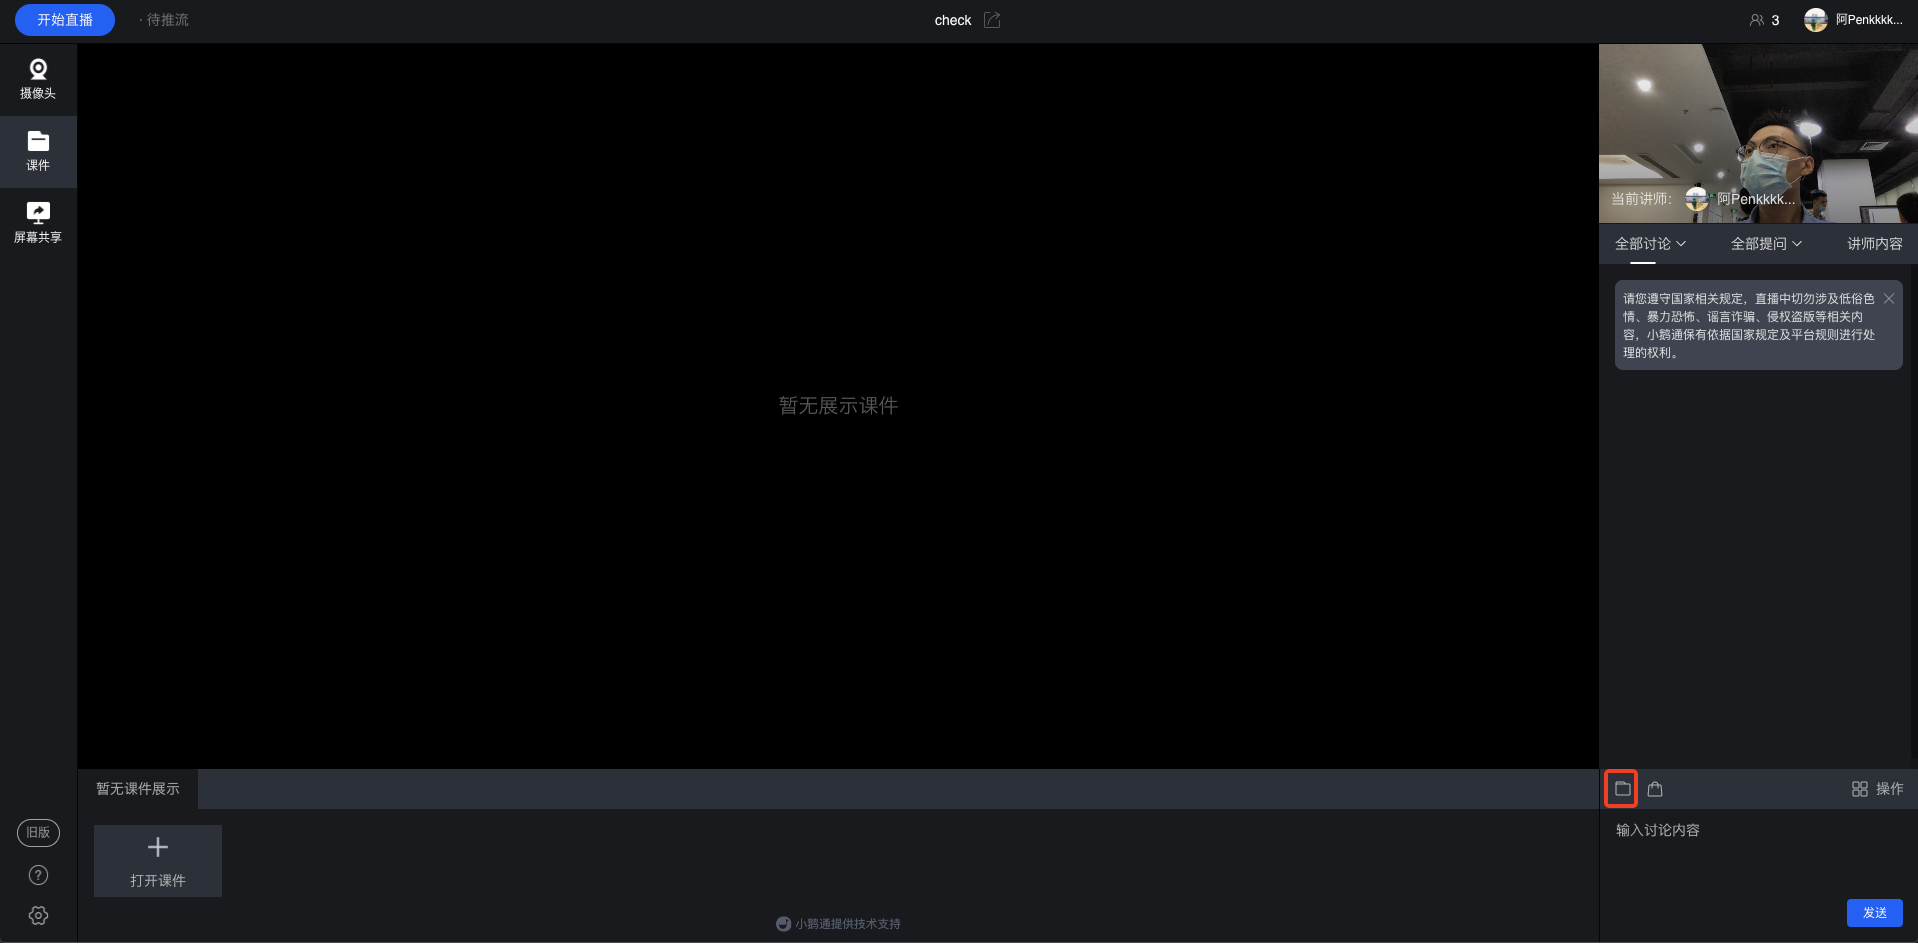
● Send the explanation content
● Send coupons, courses & cards
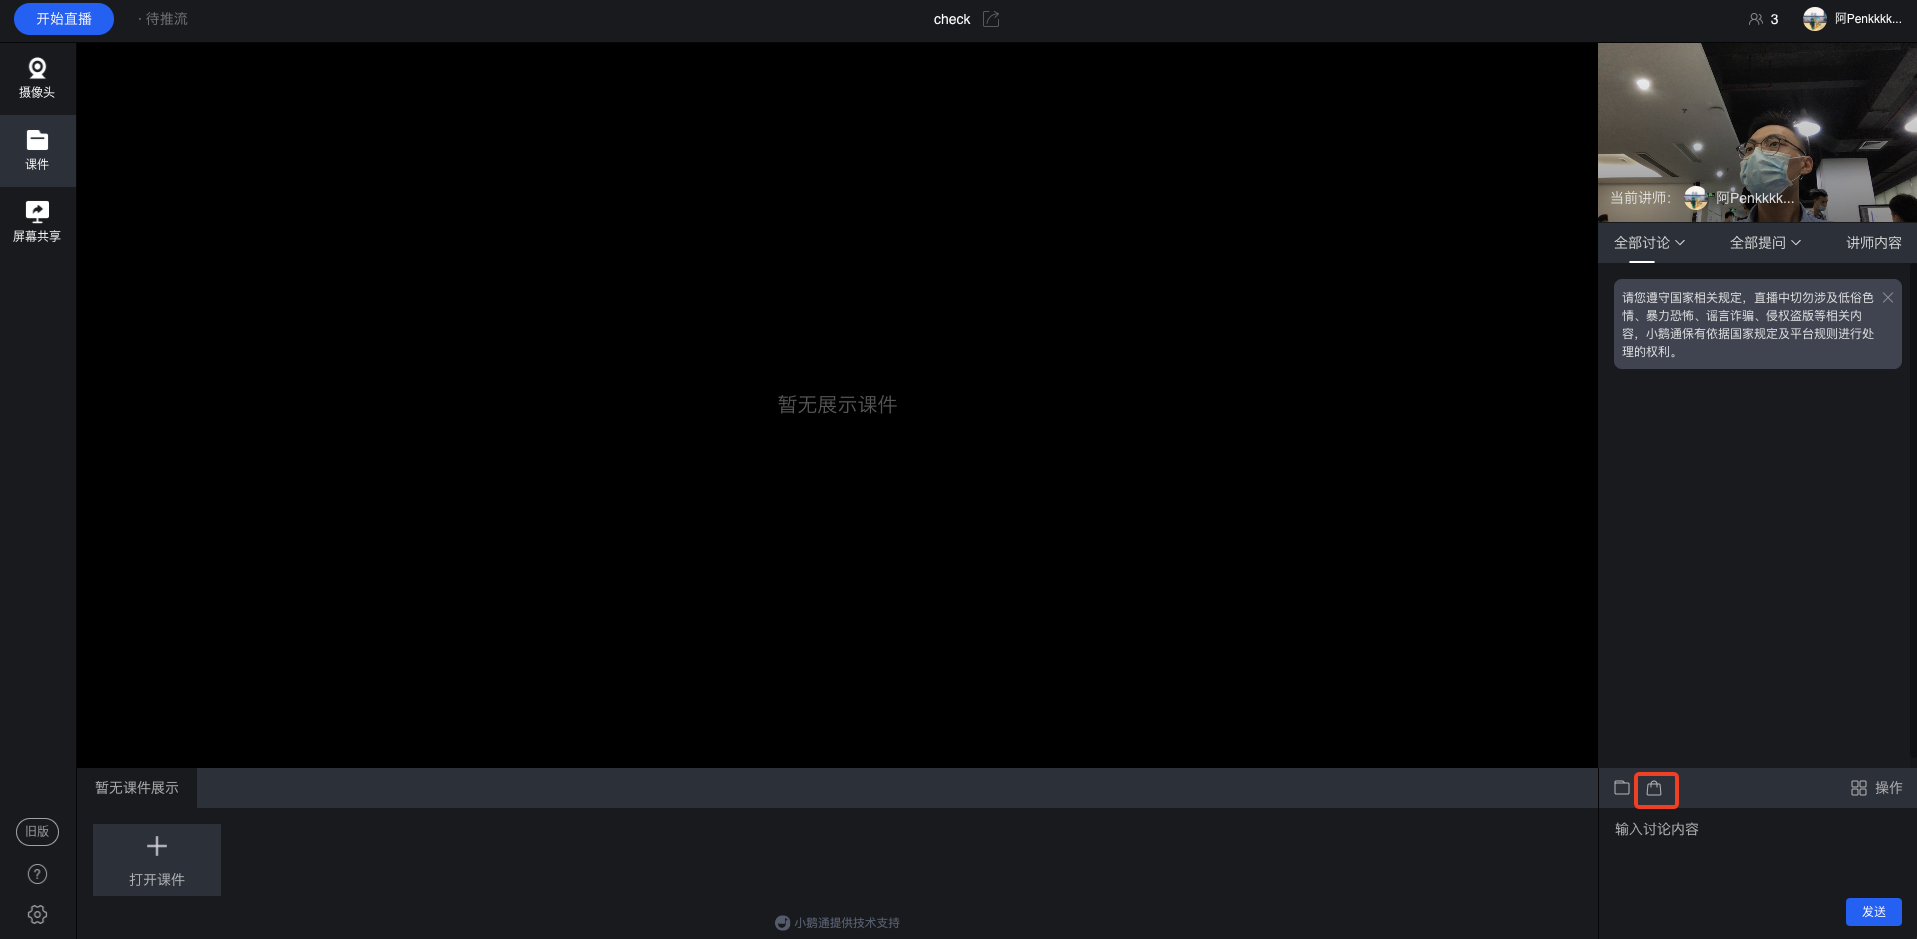
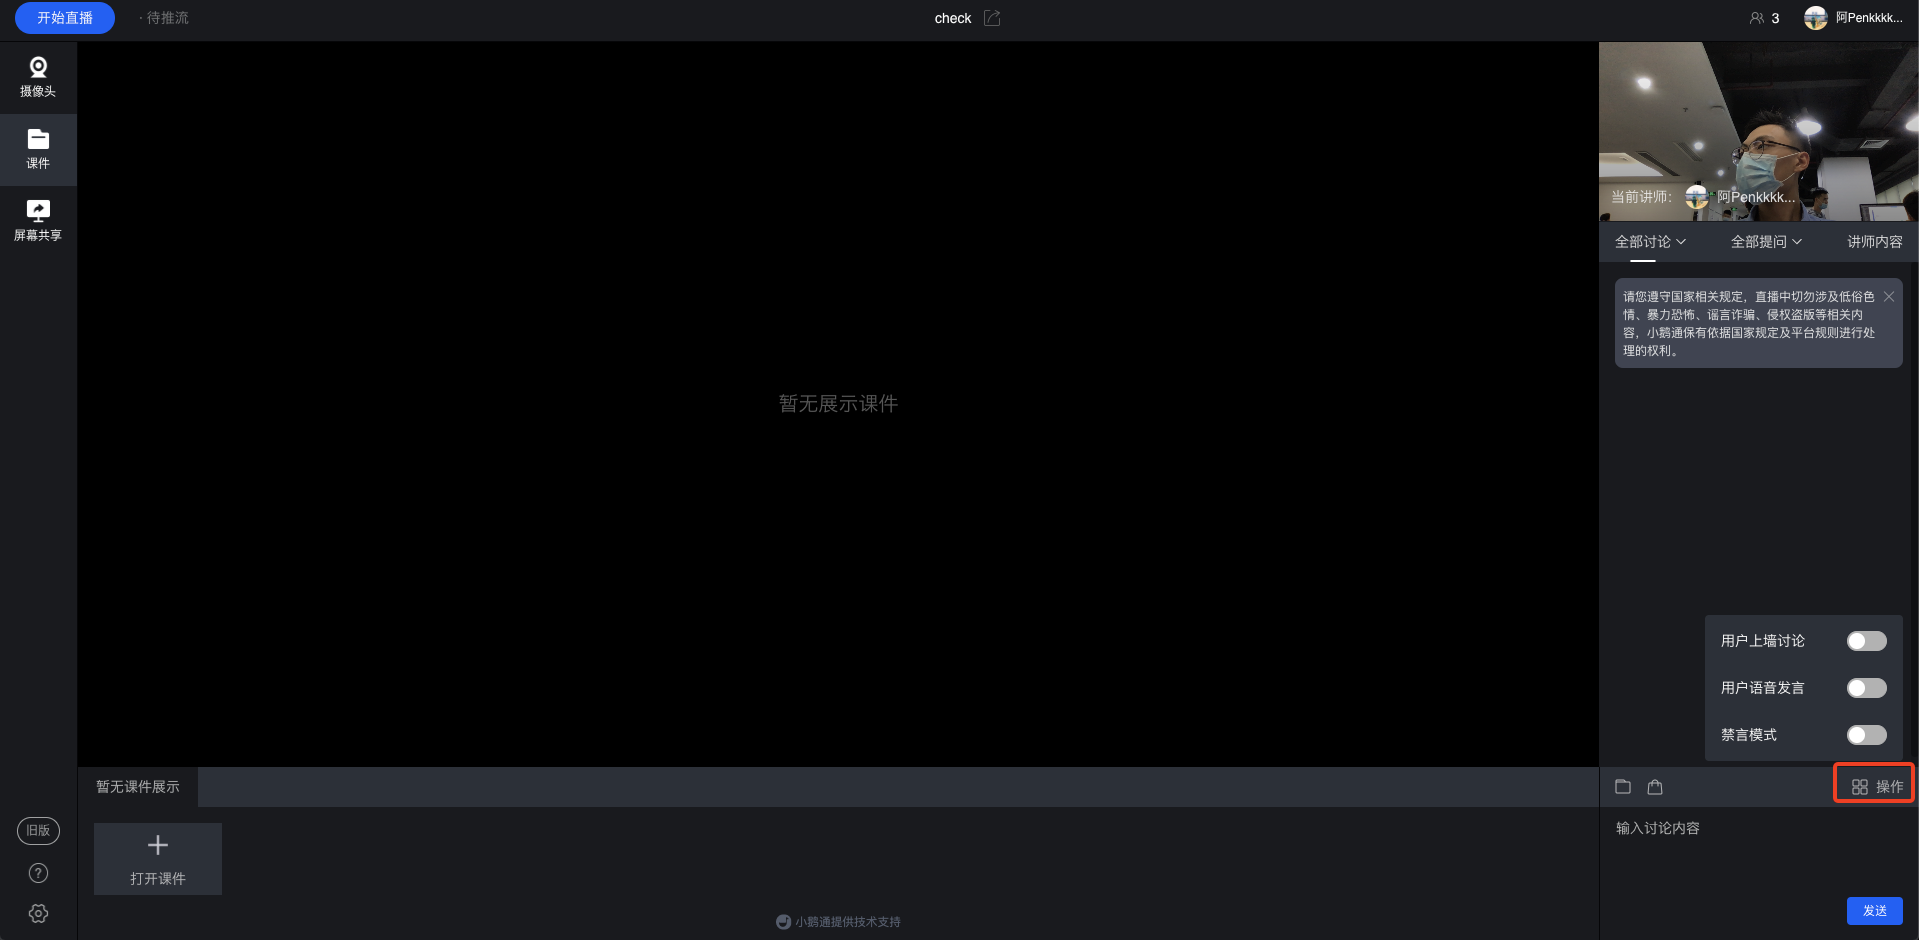
● Allow users to post on the wall, speak via voice, and mute users