Tutorial on Using Appointment Management
I. Function Introduction
Appointment management allows merchants to attract traffic to their offline institutions through trial courses. Merchants can list offline trial courses on their online stores. After students purchase these courses, merchants will arrange the trial time, instructors, and store locations for them. Once the arrangements are made, students will receive relevant class information. Students also need to complete the check-in process before attending the online class.
II. Scenario Examples
1. Xiaoe, recommended by a friend Xiaotong, purchased an English oral trial course at a low price. When placing the order, Xiaoe filled in the appointment information (name, phone number, and preferred appointment time). The merchant saw this pending confirmation record in the background appointment management, called to confirm the above information. After everything was okay, the merchant changed the status from 'pending confirmation' to 'confirmed'. Meanwhile, Xiaoe received the appointment notice from the merchant. Later, Xiaoe came to the class as scheduled.
2. Xiaoming learned about an English training institution through an offline flyer and was very interested. So he called to inquire. After understanding Xiaoming's situation, the course consultant of the training institution recommended that he try a class first. They then agreed to have the class at the Science and Xingyuan Store at 9 a.m. on Saturday. After hanging up the phone, the course consultant manually entered the appointment information. After saving, Xiaoming received the appointment notice for the course. Later, Xiaoming came to the class as scheduled.
III. Function Introduction
1. Appointment Management
Operation path: Log in to the elink background - [Applications] - [Education Administration] - [Appointment Management].

Through this function module, merchants can intuitively manage students' appointment situations. The appointment status includes 'pending confirmation', 'pending class', 'class attended', and 'cancelled'. It also supports manual appointment and exporting the appointment list.
2. Create a New Appointment
Click 'Add New Appointment'. Entering a mobile phone number will automatically index customers in the store. You can select information such as the time, which trial course, students, instructors, and class locations. After adding, the status will be 'pending class', and the system will automatically notify the customer.

3. Student Appointment
After students purchase face-to-face courses (sold by class or time period), they can make appointments for the courses arranged by the institution.


4. Student Course Schedule
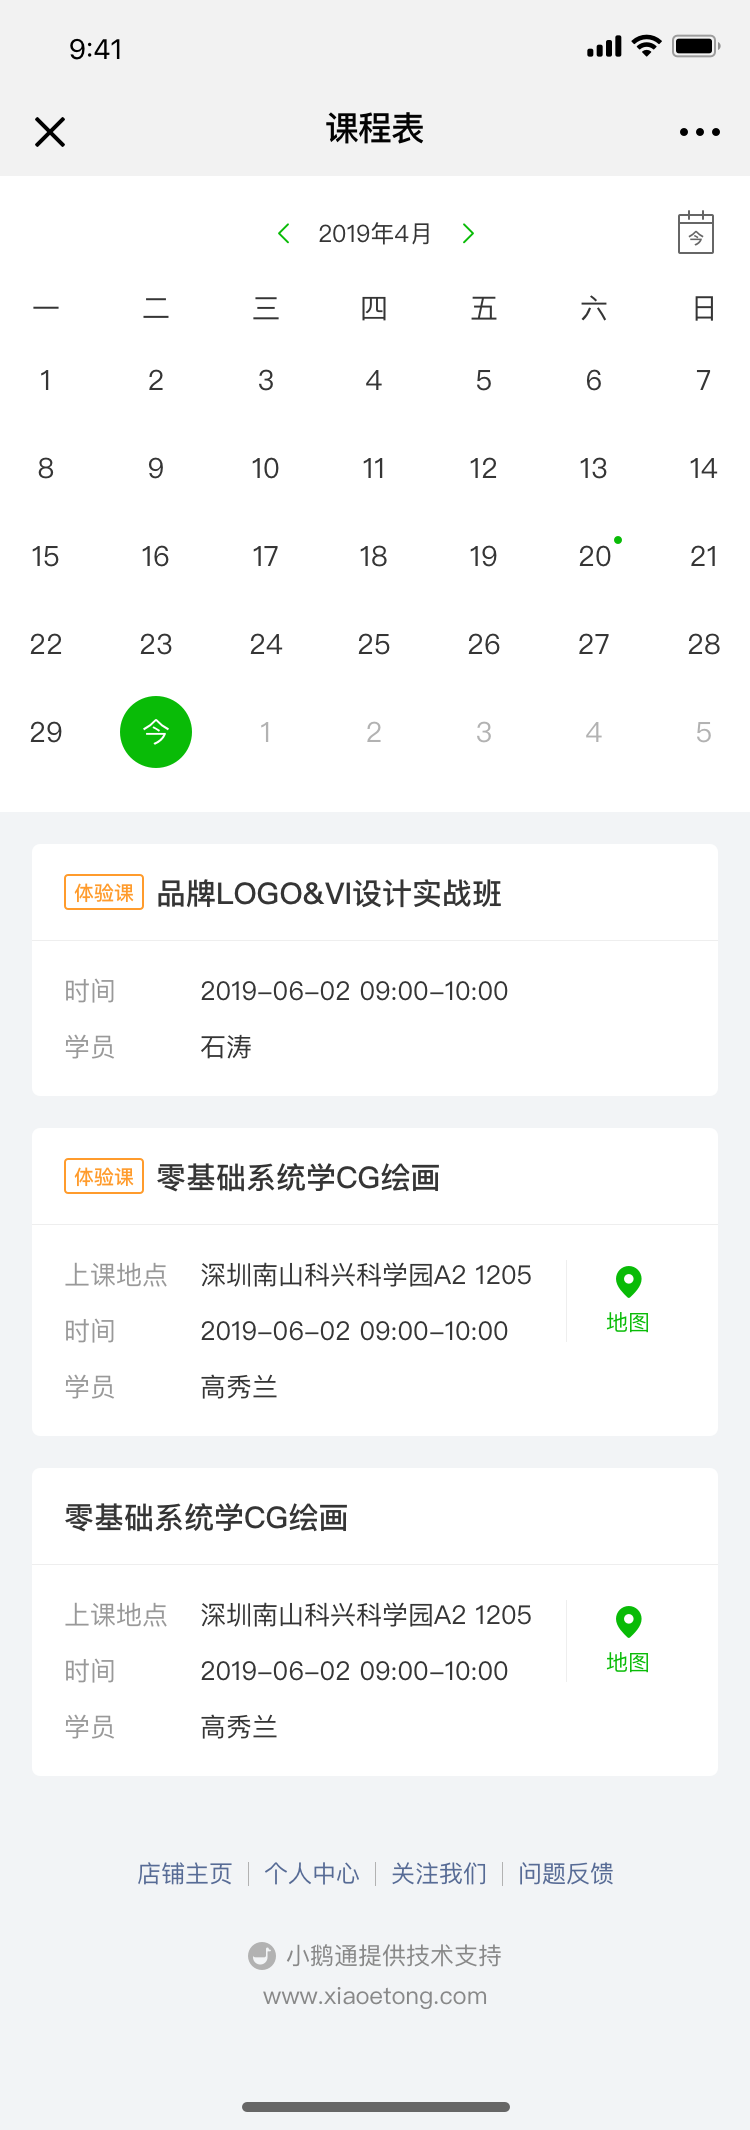
After students successfully make an appointment, the corresponding class will be added to their course schedule to help them attend classes at the offline institution on time.