How to use the 'Default Rules' for check-ins
I. The function of default rules
Since self-punch-in tasks support custom punch-in rules, there will be a cumbersome operation of configuring punch-in rules for each task separately. To improve operational efficiency, you can use the "Default Rules" to help configure the initial punch-in rules. When creating a new task, the configuration content in the "Default Rules" will be automatically filled in, eliminating the need for repeated configuration.
II. How to use default rules
1. Configure the [Default Rules]
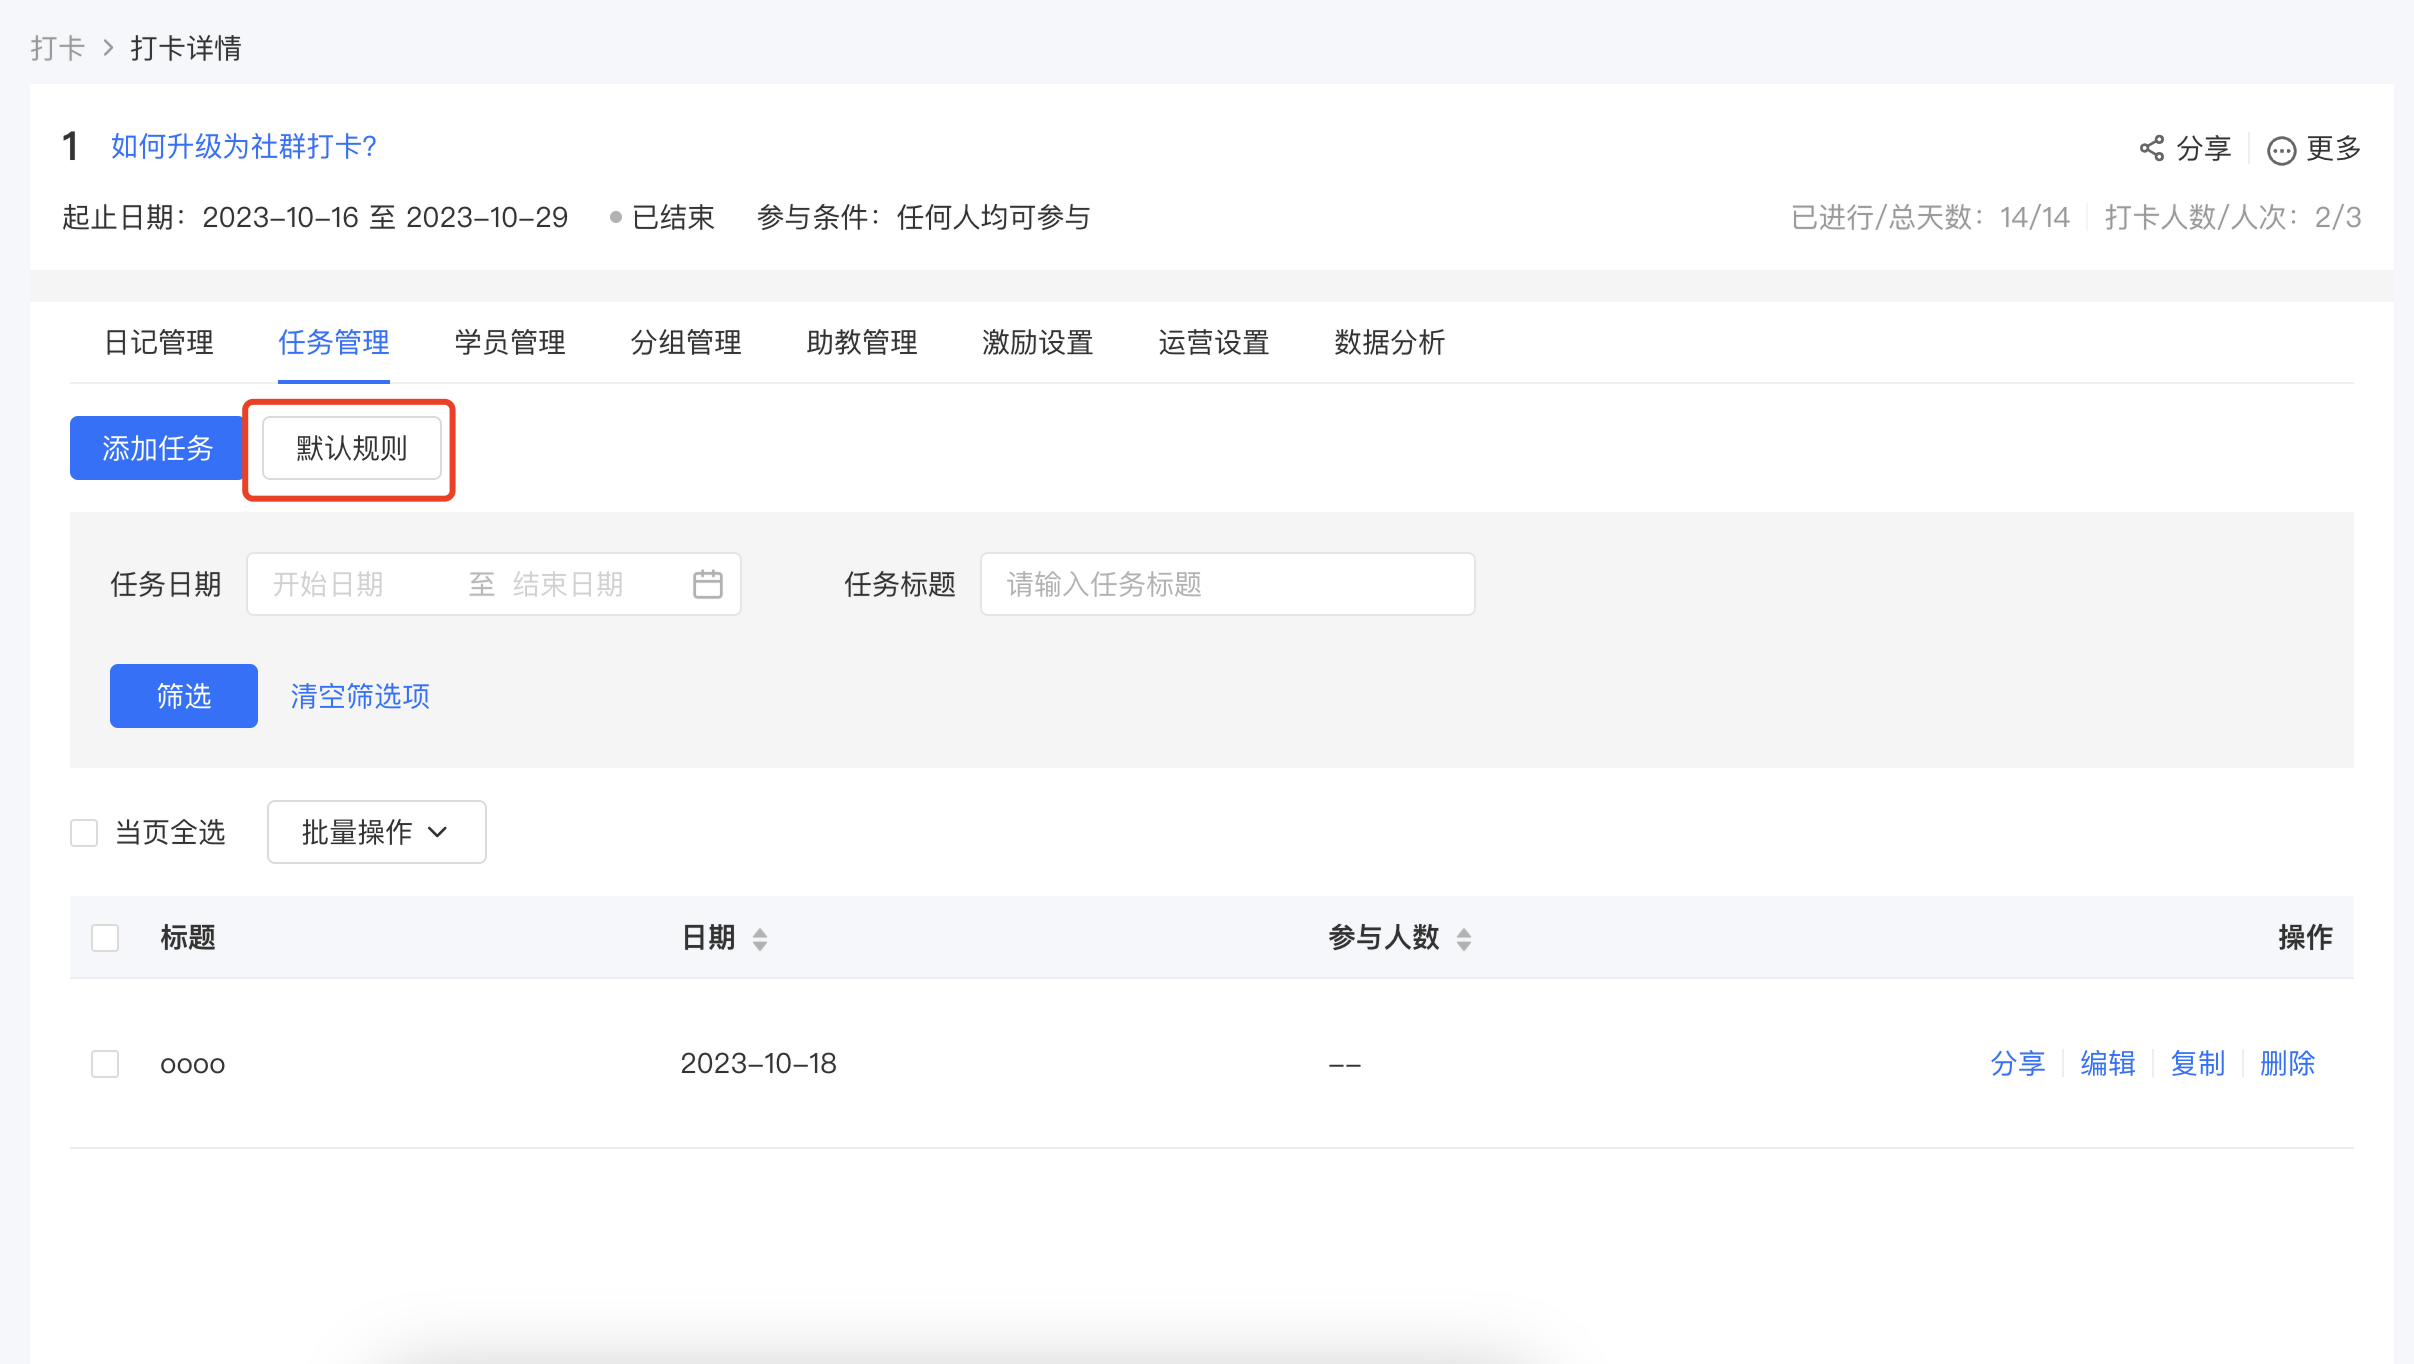
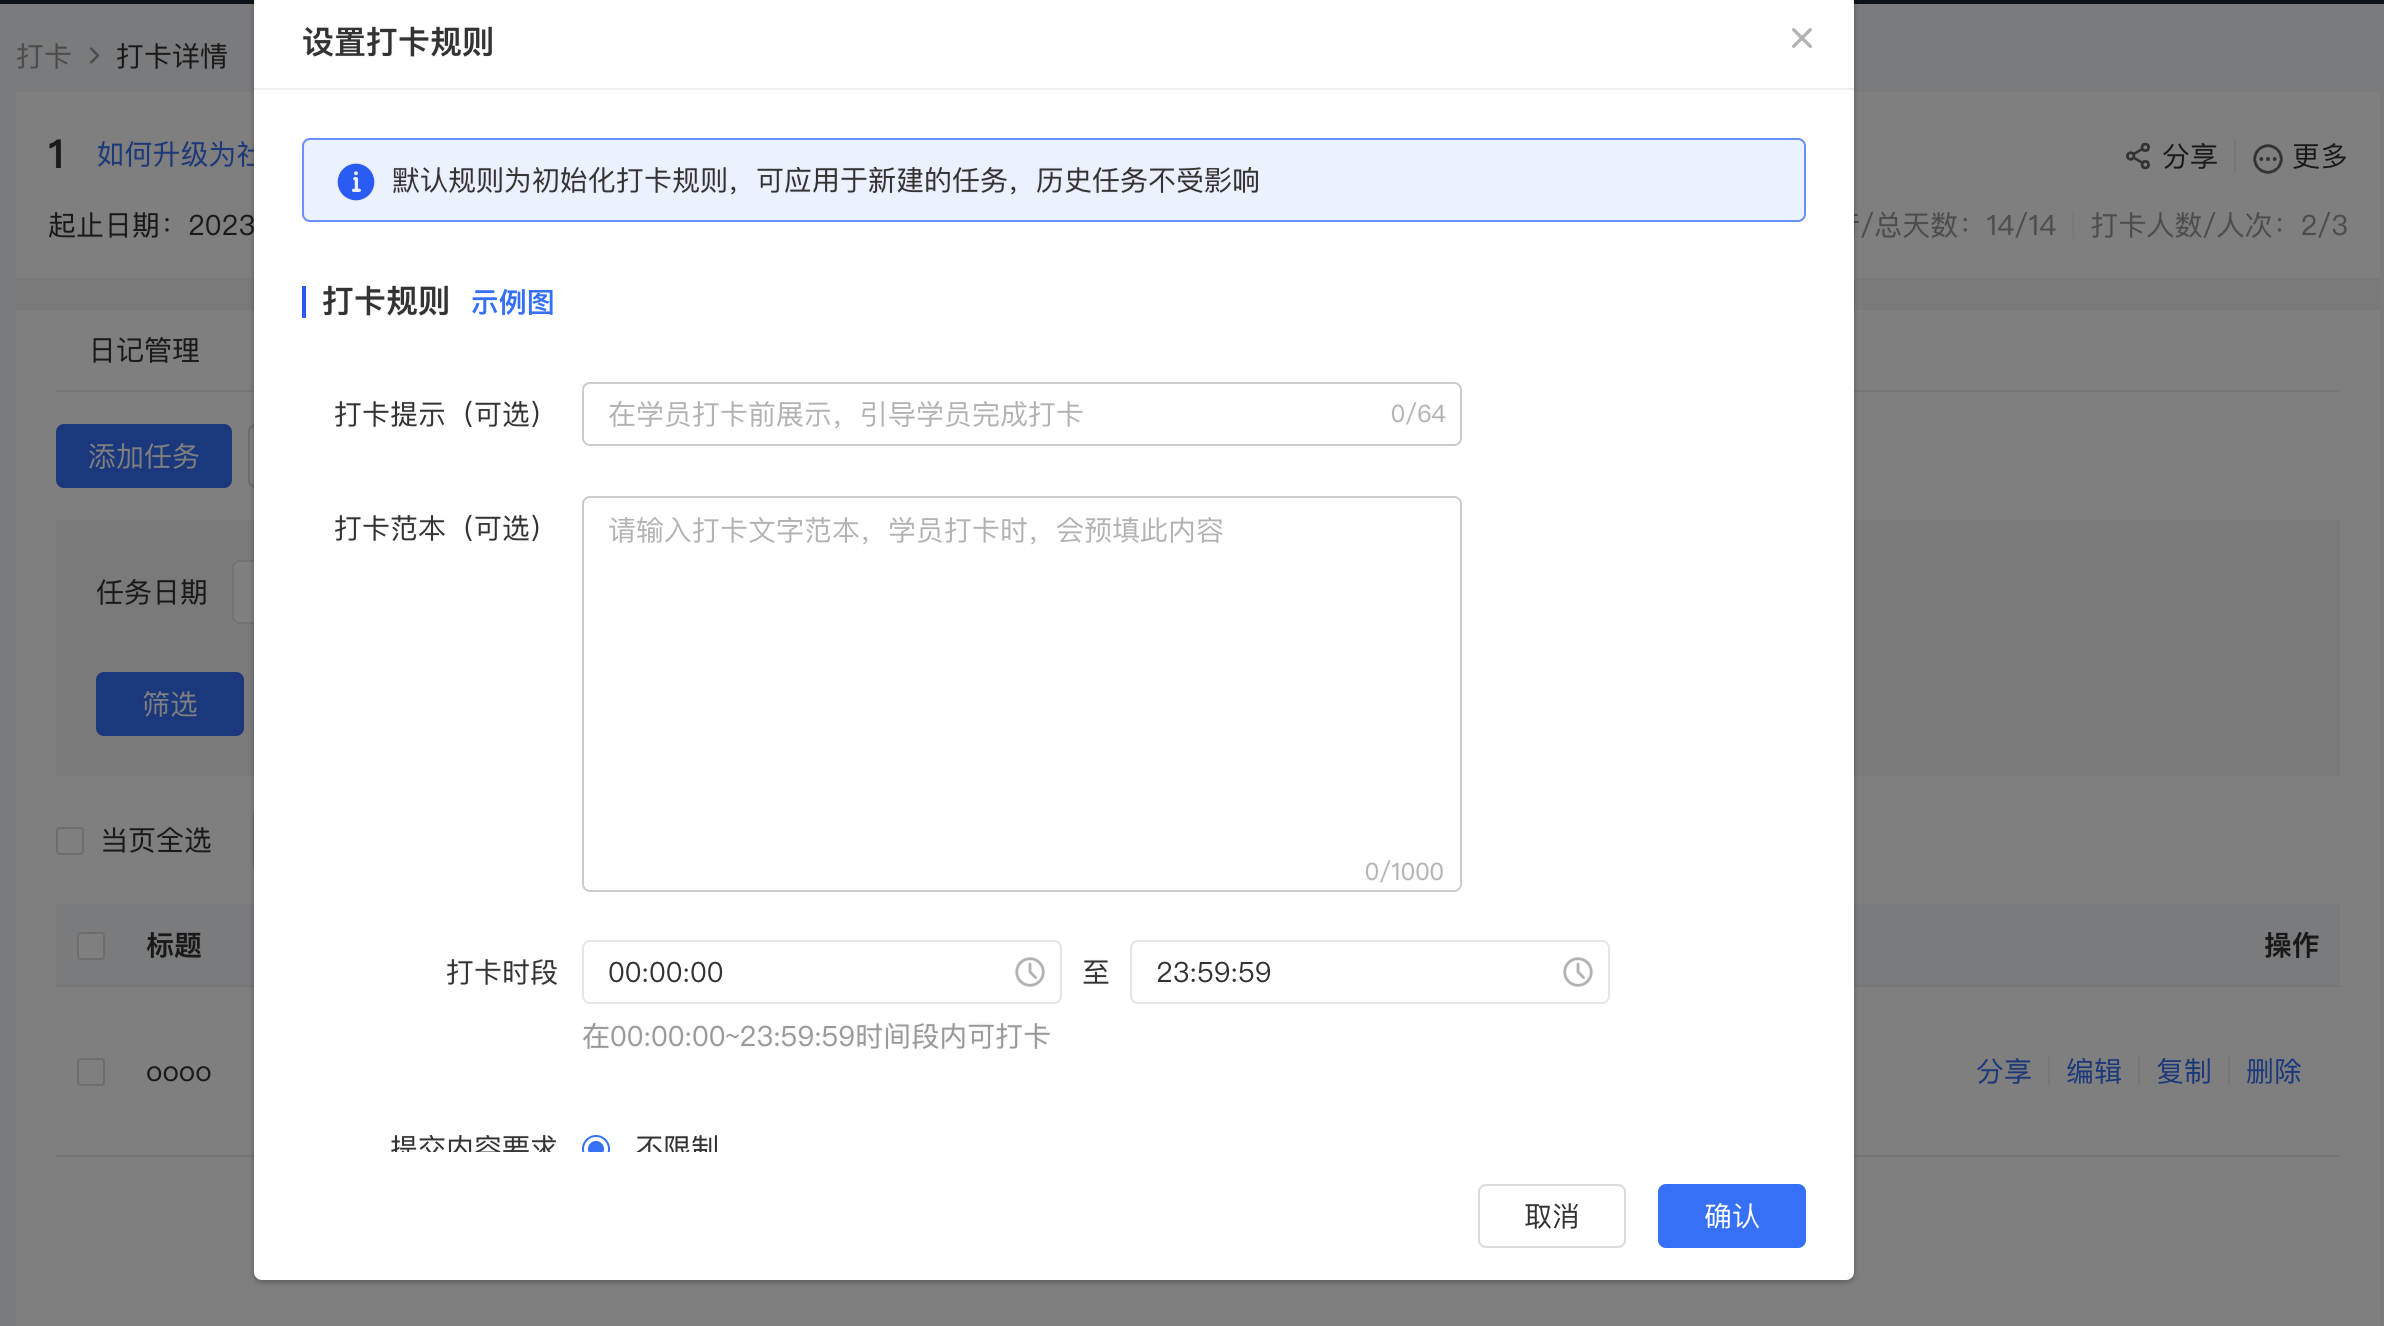
Log in to your elink account. Click [Courses] in the menu bar, select [Interactive Management], and enter the [Punch-in] module. Find the punch-in task you need to operate on, click the [Details] button in the right-hand operation column, enter the punch-in details page, and find [Task Management]. Click the [Default Rules] button to enter the configuration pop-up window and configure the default rules.
2. Apply the [Default Rules]
Scenario 1: As a specification when "students do not select a task for punch-in"
In calendar punch-in, when students do not select a task for punch-in, the punch-in behavior will be regulated according to the "Default Rules".
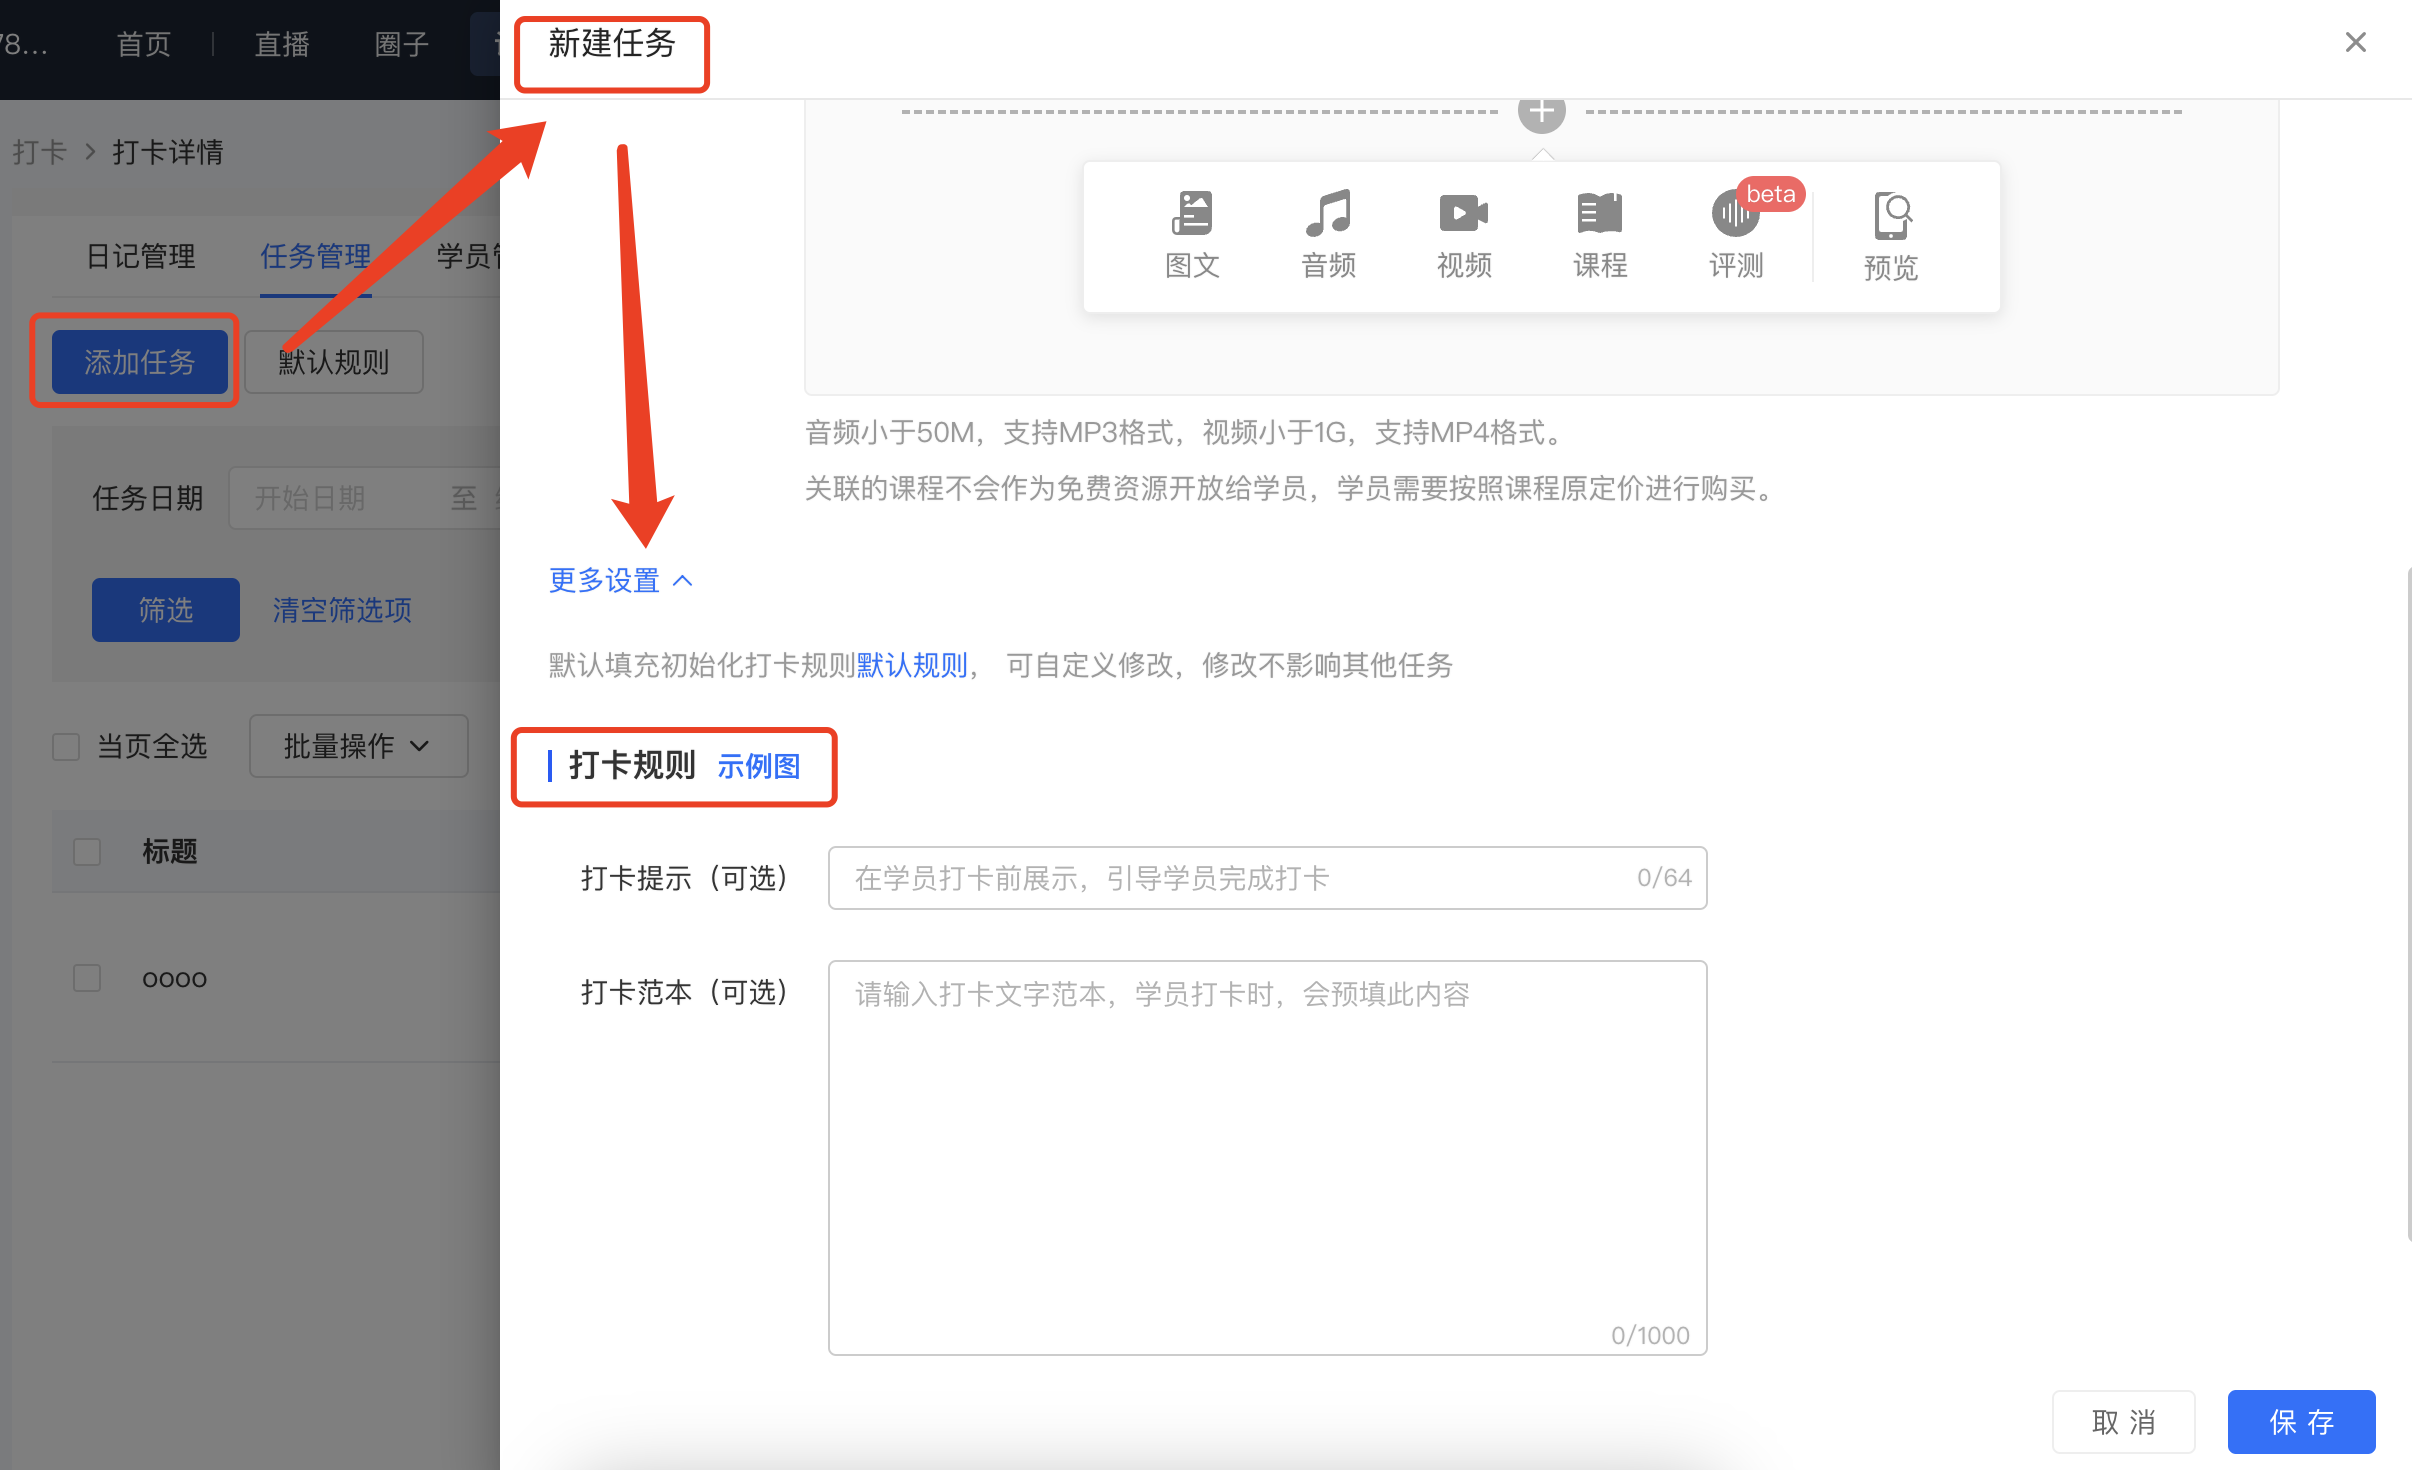
Scenario 2: As the initial punch-in rule configuration for "creating a new task"
In calendar punch-in/homework punch-in/level-up punch-in, when students select a task for punch-in, the punch-in behavior will be regulated according to the punch-in rules configured for that task. At this time, the [Default Rules] only serve as the initial configuration when creating a new task. Each task can customize and modify the punch-in rules, and the modification will not affect the "Default Rules".
It should be noted that modifying the [Default Rules] will not affect the configuration of existing tasks. It only serves as the initial setting when creating a new task.